Okra is the garden vegetable equivalent of that friend who somehow looks great in brutal summer heat. While tomatoes may start drama over every temperature swing and lettuce collapses like it has received upsetting news, okra generally sees a hot, sunny forecast and says, “Perfect. Let’s grow six feet tall.”
If you have warm weather, full sun, and a little patience during germination, growing okra can be wonderfully rewarding. The plants produce beautiful hibiscus-like flowers, their pods are ready for gumbo, frying, roasting, grilling, pickling, or soup, and a few healthy plants can keep your kitchen busy for weeks.
This guide explains exactly how to grow okra from seed or transplants, avoid common mistakes, manage pests, and harvest tender pods before they become tiny green baseball bats.
Why Grow Okra?
Okra is a warm-season annual vegetable that thrives when many other garden crops begin complaining about summer. It belongs to the mallow family, along with hibiscus and hollyhocks, which explains its surprisingly pretty flowers. In the right conditions, okra plants can grow three to six feet tall, making them useful as both a food crop and a dramatic garden backdrop.
Home gardeners love okra because it is productive, heat-tolerant, and fairly low-maintenance once established. The key is to start it at the right time. Okra is not interested in chilly soil, cold nights, or being rushed. Treat it like a summer vacationer: wait for warm weather, then let it enjoy the sunshine.
How to Grow Okra in 14 Steps
Step 1: Choose a Spot With Full Sun
Okra needs at least six to eight hours of direct sunlight each day. More sun usually means stronger plants and better pod production. Pick the brightest area of your vegetable garden, preferably one that does not stay wet after rain.
Because okra can become tall and broad, place it on the north side of shorter crops when possible. That keeps your okra from casting an afternoon shadow over smaller vegetables such as peppers, basil, beans, or carrots. Okra is productive, but it does not need to become the neighborhood’s leafy skyscraper.
Step 2: Wait Until the Soil Is Truly Warm
Timing matters more than enthusiasm. Plant okra after all danger of frost has passed and the soil has warmed to about 70°F or higher. In many regions, that may be two to four weeks after the average last spring frost date.
Cool soil slows germination, causes uneven sprouting, and can leave seedlings struggling for weeks. It is better to plant a little later into warm soil than to plant early and watch your seeds hold a very quiet underground meeting about whether they feel like growing.
Step 3: Pick an Okra Variety That Fits Your Garden
There is more than one way to grow okra. Choosing the right variety can make harvesting easier and help the plants fit your available space.
- Clemson Spineless: A classic green-podded variety known for tender, mostly spineless pods.
- Burgundy: Produces attractive red-purple pods, stems, and leaf veins. The color softens during cooking, but it looks fabulous in the garden.
- Annie Oakley: A compact hybrid option that can work well in smaller gardens.
- Baby Bubba: A shorter variety that is especially useful for containers or limited space.
- Cajun Delight: A productive choice for gardeners who want classic green pods and strong summer performance.
Read the seed packet before planting. Pay attention to days to maturity, mature plant height, spacing, and whether the variety is open-pollinated or hybrid. If saving seed is important to you, open-pollinated varieties are generally the simpler choice.
Step 4: Prepare Well-Drained, Fertile Soil
Okra grows best in loose, fertile, well-drained soil with a slightly acidic to neutral pH, roughly 6.0 to 7.0. It can tolerate different soil types, but it does not enjoy sitting in waterlogged ground. Constantly wet roots are a fast route to unhappy plants and disappointing harvests.
Before planting, remove weeds, loosen compacted soil, and work in compost or well-rotted organic matter. Compost improves soil texture, helps sandy soil hold moisture, and helps heavy soil drain more effectively. Think of it as giving your garden bed a better mattress before asking okra to move in.
Step 5: Avoid Overdoing the Fertilizer
Okra benefits from fertile soil, but too much nitrogen can create huge leafy plants with fewer pods. Nobody wants an okra plant that looks like a jungle tree but produces three sad vegetables.
Use a balanced vegetable fertilizer according to the label or follow recommendations from a local soil test. If plants look pale or slow later in the season, a light side-dressing of fertilizer may help. Keep fertilizer a few inches away from the stems, water afterward, and resist the urge to “help” with double doses.
Step 6: Decide Between Seeds and Transplants
Direct seeding is the most common way to grow okra. The seeds germinate well in warm soil, and direct-sown plants avoid root disturbance. In regions with short summers, however, starting seedlings indoors can give gardeners a head start.
If starting indoors, sow seeds about four to six weeks before your planned outdoor planting date. Use biodegradable pots or deep cells because okra develops a taproot and does not love being transplanted. Harden seedlings off gradually before moving them outdoors so they can adjust to wind, sun, and temperature changes.
Step 7: Soak Seeds to Encourage Faster Germination
Okra seeds have a tough outer coat. Soaking them in room-temperature water for several hours or overnight can help them absorb moisture and sprout more evenly. Some gardeners wrap seeds in a damp paper towel overnight instead.
This step is optional, but it can be useful when you are planting during warm weather and want seedlings to emerge more quickly. Do not soak seeds for days. They are seeds, not tiny scuba divers.
Step 8: Sow Seeds at the Right Depth
Plant okra seeds about one-half to one inch deep. In lighter, sandy soil, planting closer to one inch deep is usually fine. In heavier soil, stay closer to one-half inch so seedlings do not have to perform an underground excavation project.
Plant two or three seeds at each location if germination is uncertain. Once seedlings are established, thin them so the strongest plant remains. It can feel cruel to remove extra seedlings, but crowding creates weaker plants that compete for water, nutrients, and sunlight.
Step 9: Give Each Plant Enough Space
For most home gardens, space plants about 12 to 18 inches apart within the row. Leave roughly 36 to 48 inches between rows, especially for tall varieties. Good spacing improves air circulation, makes harvesting easier, and gives leaves room to dry after rain or watering.
If you are growing okra in a container, choose a large pot with drainage holes. A container that holds at least five gallons is a practical minimum for a compact variety. Use fresh, high-quality potting mix rather than garden soil, which can become compacted in containers.
Step 10: Water Consistently, Especially While Plants Establish
Okra tolerates heat well, but it still needs consistent moisture to grow strong roots and produce tender pods. Aim for deep watering rather than frequent light sprinkling. As a general guide, established plants often need around one inch of water per week, though rainfall, heat, soil type, and container growing can change that number.
Water at the base of the plants early in the day whenever possible. This helps reduce leaf wetness and gives foliage time to dry. Drip irrigation or a soaker hose is especially helpful because it delivers water directly to the soil instead of giving every leaf an unnecessary shower.
Step 11: Mulch After the Soil Has Warmed
Once the weather is reliably warm and seedlings are growing well, add a layer of organic mulch around the plants. Straw, shredded leaves, untreated grass clippings, or compost can help conserve moisture, suppress weeds, and reduce soil splashing onto leaves.
Keep mulch a couple of inches away from the stems. Piling mulch directly against plants can trap moisture and invite rot. The goal is cozy roots, not a damp blanket wrapped around the plant’s ankles.
Step 12: Keep Weeds and Pests Under Control
Young okra plants do not compete well with aggressive weeds, so keep the bed tidy early in the season. Pull weeds by hand or cultivate shallowly to avoid damaging roots. Once okra becomes tall and leafy, it usually shades the soil enough to make weed control easier.
Common pests may include aphids, Japanese beetles, stink bugs, caterpillars, corn earworms, ants, and leafhoppers. Check the undersides of leaves and inspect pods regularly. Hand-pick larger insects when practical, knock aphids off with a spray of water, and remove heavily damaged leaves.
For serious infestations, use an integrated pest management approach: identify the pest first, start with the least disruptive control method, and use only products labeled for edible crops. Always follow the product label, including the waiting period before harvest.
Step 13: Watch for Disease and Stress Signals
Okra is generally tough, but poor growing conditions can invite trouble. Yellow leaves may be caused by overwatering, nutrient problems, root stress, or natural aging lower on the plant. Wilting during a hot afternoon can be normal if plants recover by evening; wilting that continues after temperatures cool is more concerning.
Good drainage, crop rotation, clean garden beds, proper spacing, and watering at soil level are your best defenses. Avoid planting okra in the exact same spot year after year if you have recurring pest or soil-borne disease issues. Rotating crop families helps break the cycle.
Step 14: Harvest Pods Small and Often
Harvesting is where okra rewards attention. Most varieties produce the best eating-quality pods when they are about two to three inches long, although some varieties stay tender at slightly larger sizes. Check plants every two or three days, and every day during peak summer production.
Use pruners or scissors to cut pods from the stem. Wear gloves and long sleeves if the plant’s fine hairs irritate your skin. If you miss a pod and it becomes oversized, cut it off anyway. Leaving mature pods on the plant can slow future production because the plant starts focusing on seed development.
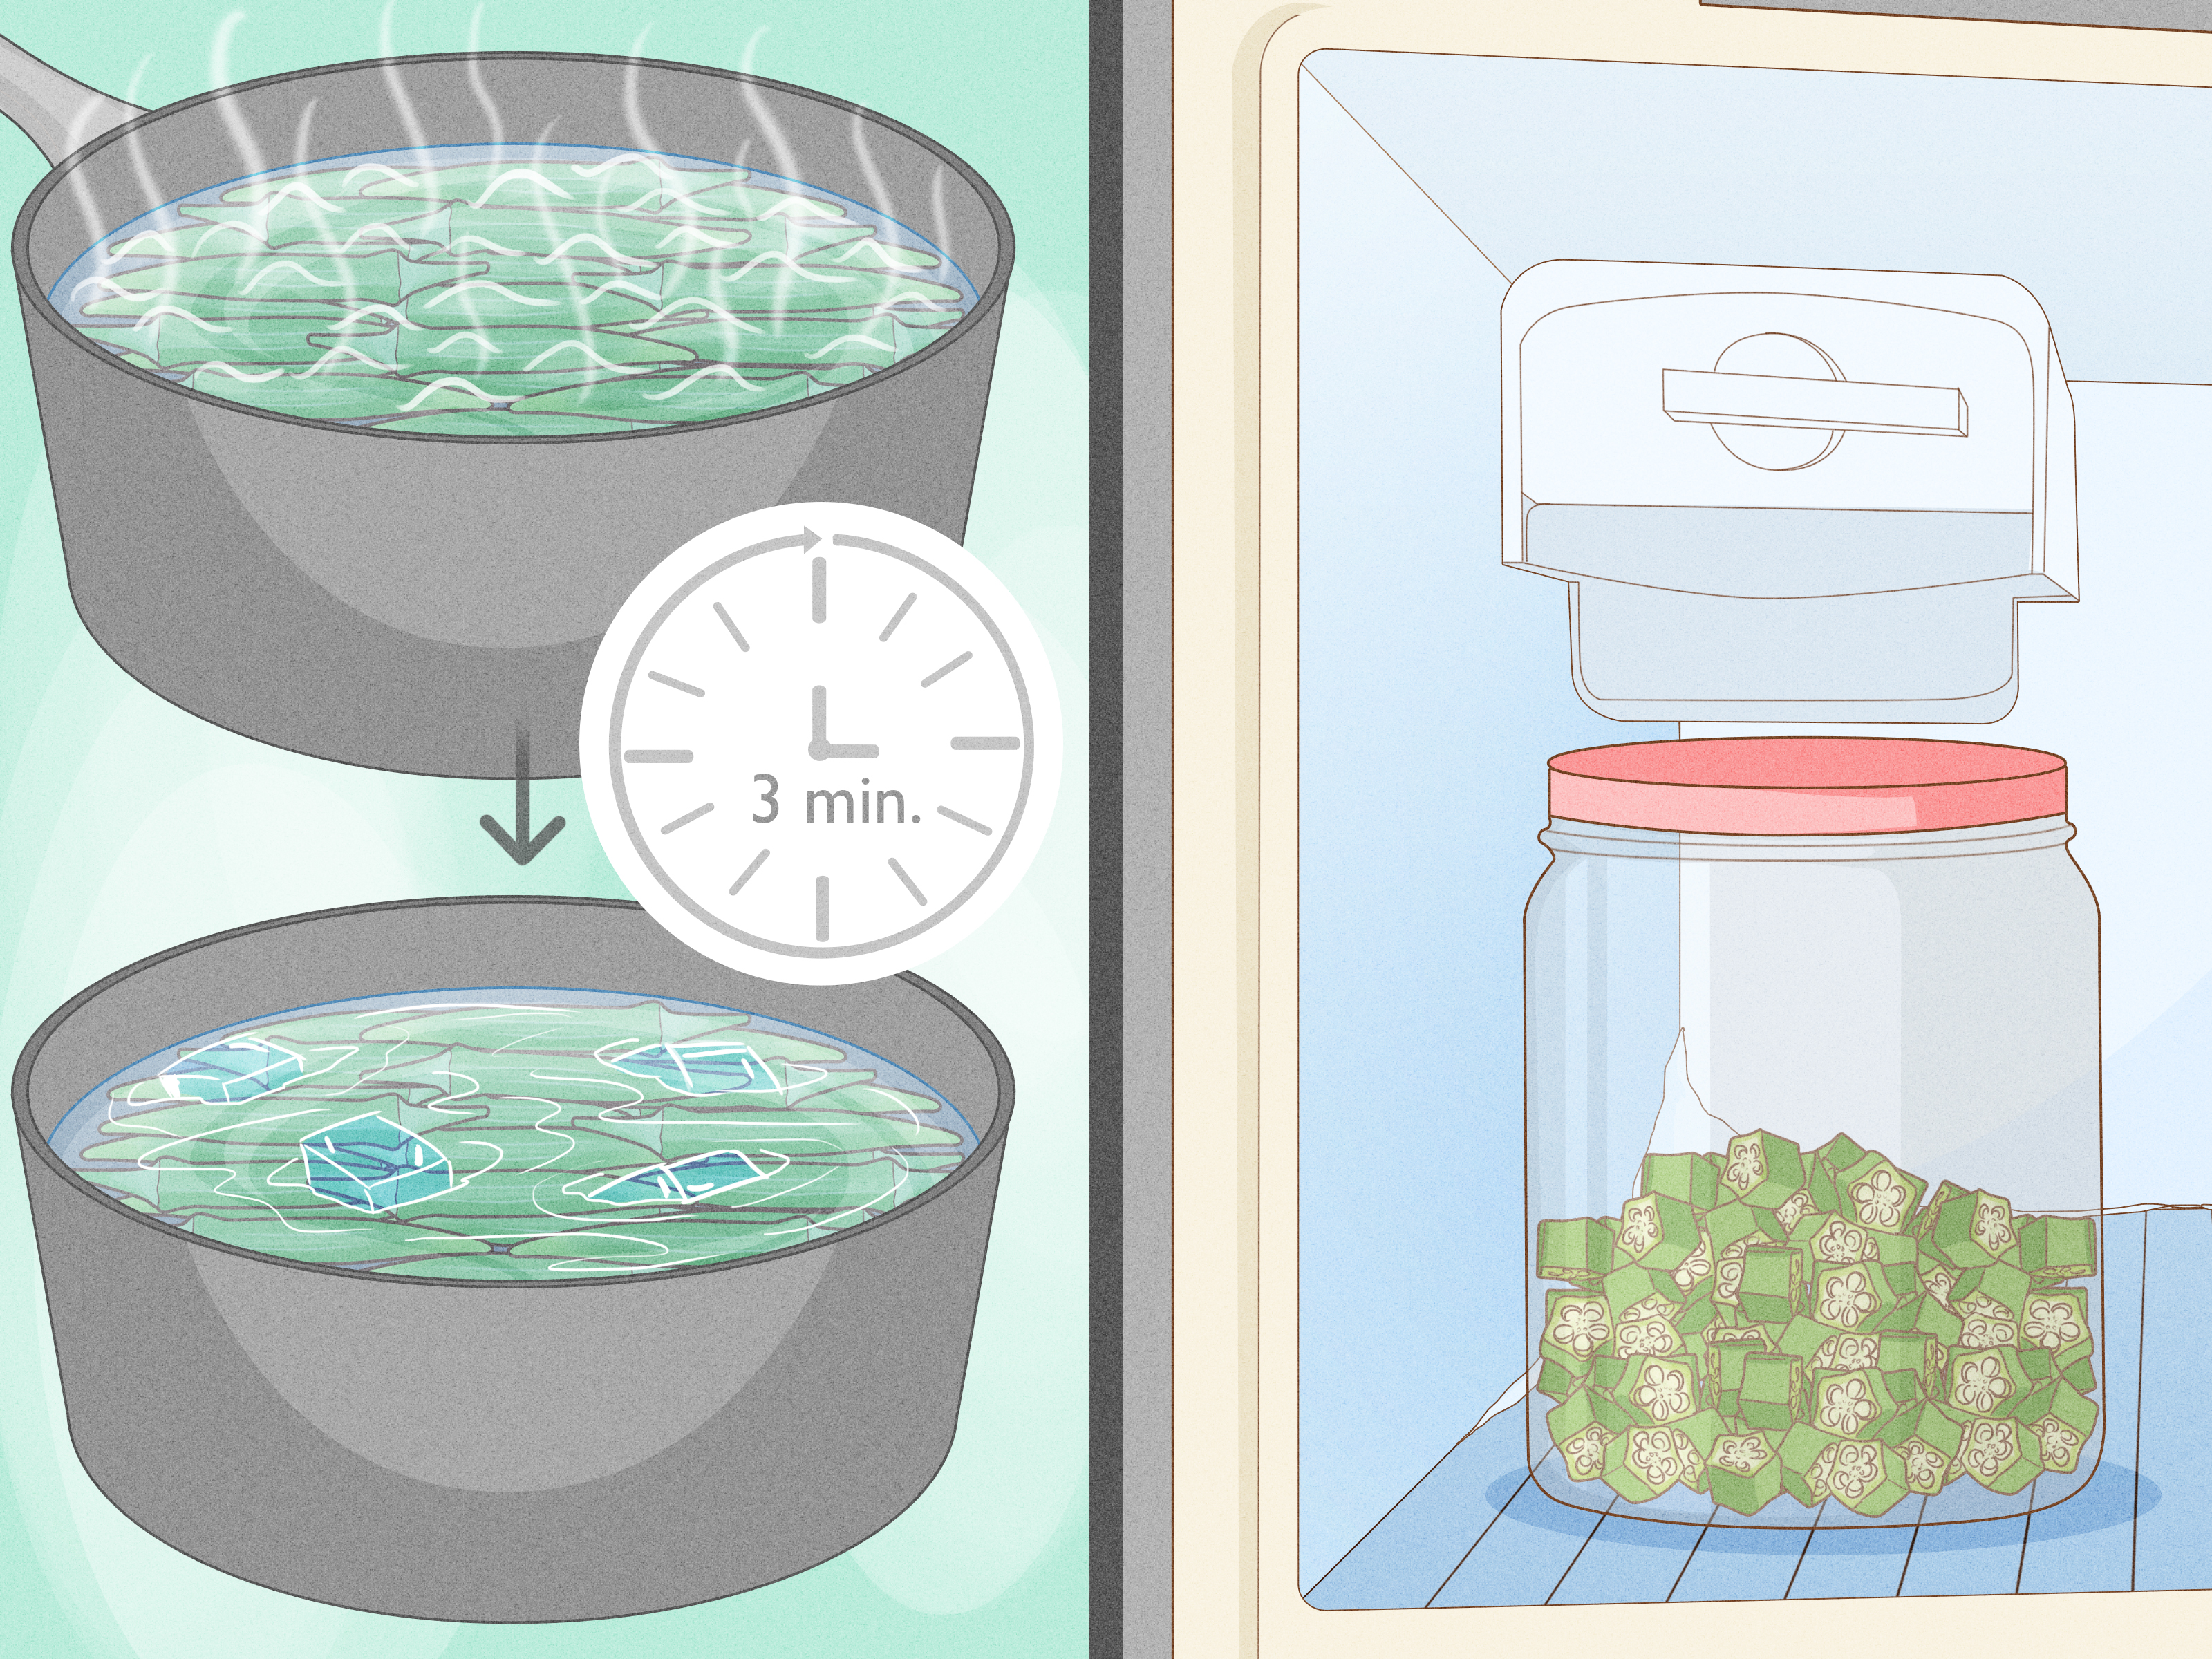
Freshly harvested okra is best used soon after picking. Store pods in a loose plastic bag in the refrigerator for several days. For a larger harvest, blanch pods briefly, cool them quickly, and freeze them for soups, stews, and gumbo later in the year.
Common Okra Growing Problems and Simple Fixes
My Okra Seeds Will Not Sprout
The most likely reason is cool soil. Wait for warmer weather, soak seeds overnight before planting, and make sure the seedbed stays evenly moist without becoming soggy. Fresh seed also improves your odds of good germination.
My Plant Is Huge but Has Few Pods
Too much nitrogen fertilizer can encourage leaves instead of pods. Another possibility is weather stress during flowering. Extremely hot, humid conditions can interfere with pollen performance. Keep watering consistent, avoid excessive fertilizer, and give plants time to recover.
My Okra Pods Are Tough and Woody
This is usually a harvesting issue, not a gardening failure. Pods grow quickly, especially in hot weather. Harvest them smaller and check plants more often. A pod that looked perfect on Tuesday can turn into a decorative stick by Friday.
My Leaves Have Holes
Inspect leaves for beetles, caterpillars, or chewing insects. Hand removal is often enough in a small garden. Keep weeds down, remove badly damaged foliage, and monitor plants regularly so a small pest issue does not become a summer buffet.
Experience-Based Lessons From Growing Okra
Gardeners who grow okra for the first time often learn the same lesson: this plant rewards patience at the beginning and attention at the end. The early season can feel almost boring. You plant seeds, wait for warm soil, water carefully, and wonder why nothing seems to be happening. Then summer arrives, the plants stretch upward, flowers appear, and suddenly you are checking for pods every other day like a proud but slightly overwhelmed vegetable parent.
One of the most useful experiences is learning not to plant too early. Many gardeners are eager to get seeds into the ground as soon as spring appears, but okra has no interest in proving itself during cool weather. A later planting in warm soil often catches up quickly and produces stronger plants than an early planting that spends weeks sulking.
Another common discovery is that spacing is not optional. Okra starts as a small seedling, so it is tempting to place plants close together. By midsummer, however, those little seedlings may become tall, wide, leafy plants that make harvesting feel like hiking through a miniature forest. Generous spacing improves airflow, makes pests easier to spot, and saves you from wrestling foliage every time you want a few pods for dinner.
Experienced growers also learn that okra harvest timing changes everything. A beginner may wait for the pods to become large because bigger vegetables usually seem better. Okra politely disagrees. The best pods are typically young, crisp, and tender. Once they become oversized, they can be tough enough to make you question whether you harvested food or garden lumber.
Keeping a small harvest basket nearby is surprisingly helpful. When plants begin producing heavily, pods can appear fast. A quick morning walk through the garden every couple of days makes harvesting easier and keeps the plant focused on producing more tender pods. It also gives you a chance to spot pests, check soil moisture, and admire the flowers before the day gets hot.
Many gardeners enjoy growing more than one variety. A classic green variety such as Clemson Spineless is practical for cooking, while Burgundy adds color and ornamental appeal. Mixing varieties can make the garden more interesting and helps you learn which plant performs best in your specific climate, soil, and cooking routine.
Finally, successful okra growing teaches a valuable gardening truth: do not overmanage a healthy plant. Okra likes sunshine, warmth, reasonable fertility, water during dry spells, and regular harvesting. It does not need daily fertilizer, constant digging around its roots, or a complicated ritual involving twelve products and a moon chart. Give it the basics, observe it often, and let summer do much of the work.
Conclusion
Growing okra is one of the easiest ways to turn a hot summer garden into a steady source of fresh vegetables. Start with full sun, warm soil, well-drained planting space, and a variety suited to your garden. Water consistently, mulch after the soil warms, watch for pests, and harvest tender pods often.
With these 14 steps, you can grow healthy okra plants that produce beautiful flowers, crisp young pods, and enough harvests to keep your skillet, freezer, and gumbo pot very happy. Once you learn the rhythm of planting late, harvesting early, and checking often, okra may become one of the most dependable crops in your summer garden.
Note: Planting dates, irrigation needs, and pest pressure vary by region. Use your local cooperative extension service or frost-date information to fine-tune this guide for your specific area.