A paper jet airplane is one of life’s most satisfying tiny engineering projects. It starts as a flat sheet of paper, spends a few minutes being folded into sharp angles, and thenif you have treated it with reasonable respectzooms across the room like it has an important meeting at the airport.
The best part is that you do not need expensive supplies, a pilot’s license, or a runway longer than your hallway. You need one sheet of paper, careful folds, and a willingness to accept that the first launch may look less like a fighter jet and more like a confused leaf.
This guide shows you how to make a fast, stable paper jet airplane using a classic dart-style design. You will also learn why it flies, how to adjust it when it dives or loops, and how to turn a simple paper airplane into a mini science experiment.
What You Need to Make a Paper Jet Airplane
Keep the materials simple. Fancy paper can look impressive, but it is not always your flight team’s best friend.
- One sheet of standard letter-size printer paper, 8.5 by 11 inches
- A flat surface for folding
- A ruler or fingernail for pressing crisp creases
- Optional: small pieces of tape, crayons, markers, or stickers for decoration
- Optional: a paper clip for balancing an overly floaty plane
Regular printer paper is ideal because it is light enough to glide but sturdy enough to hold sharp folds. Very thin paper can flutter like it has forgotten its job, while thick cardstock may be too heavy for a simple dart design.
Why a Paper Jet Airplane Flies
A paper jet is technically a glider, not a powered airplane. Your throwing motion supplies the initial push, and the shape of the wings helps the plane move through the air. NASA explains that aircraft flight involves lift, weight, thrust, and drag. For a paper glider, your launch provides the short burst of thrust, while lift, drag, and weight keep negotiating the rest of the trip.
The wings create lift as air moves around them. Weight pulls the plane down. Drag resists forward motion. The secret ingredient is balance: the plane’s center of gravity should sit slightly ahead of the center of lift. When the nose is too light, the plane may climb, slow down, and dramatically fall backward. When the nose is too heavy, it may dive straight into the carpet with the confidence of a tiny lawn dart.
Paper airplane science is also a reminder that small changes matter. A slightly wider wing, a sharper crease, a tiny upward flap, or a millimeter of uneven folding can transform a graceful flight into a spiral worthy of an action movie. Educational flight activities from NASA, the Smithsonian, Science Buddies, and the Exploratorium all emphasize the relationship between design, balance, airflow, and repeated testing.
How to Make a Paper Jet Airplane: Step-by-Step Instructions
This design creates a sleek paper jet with a pointed nose, narrow body, swept wings, and adjustable rear flaps. Fold carefully. Your paper plane does not need military-grade precision, but it will appreciate the effort.
Step 1: Place the Paper Vertically
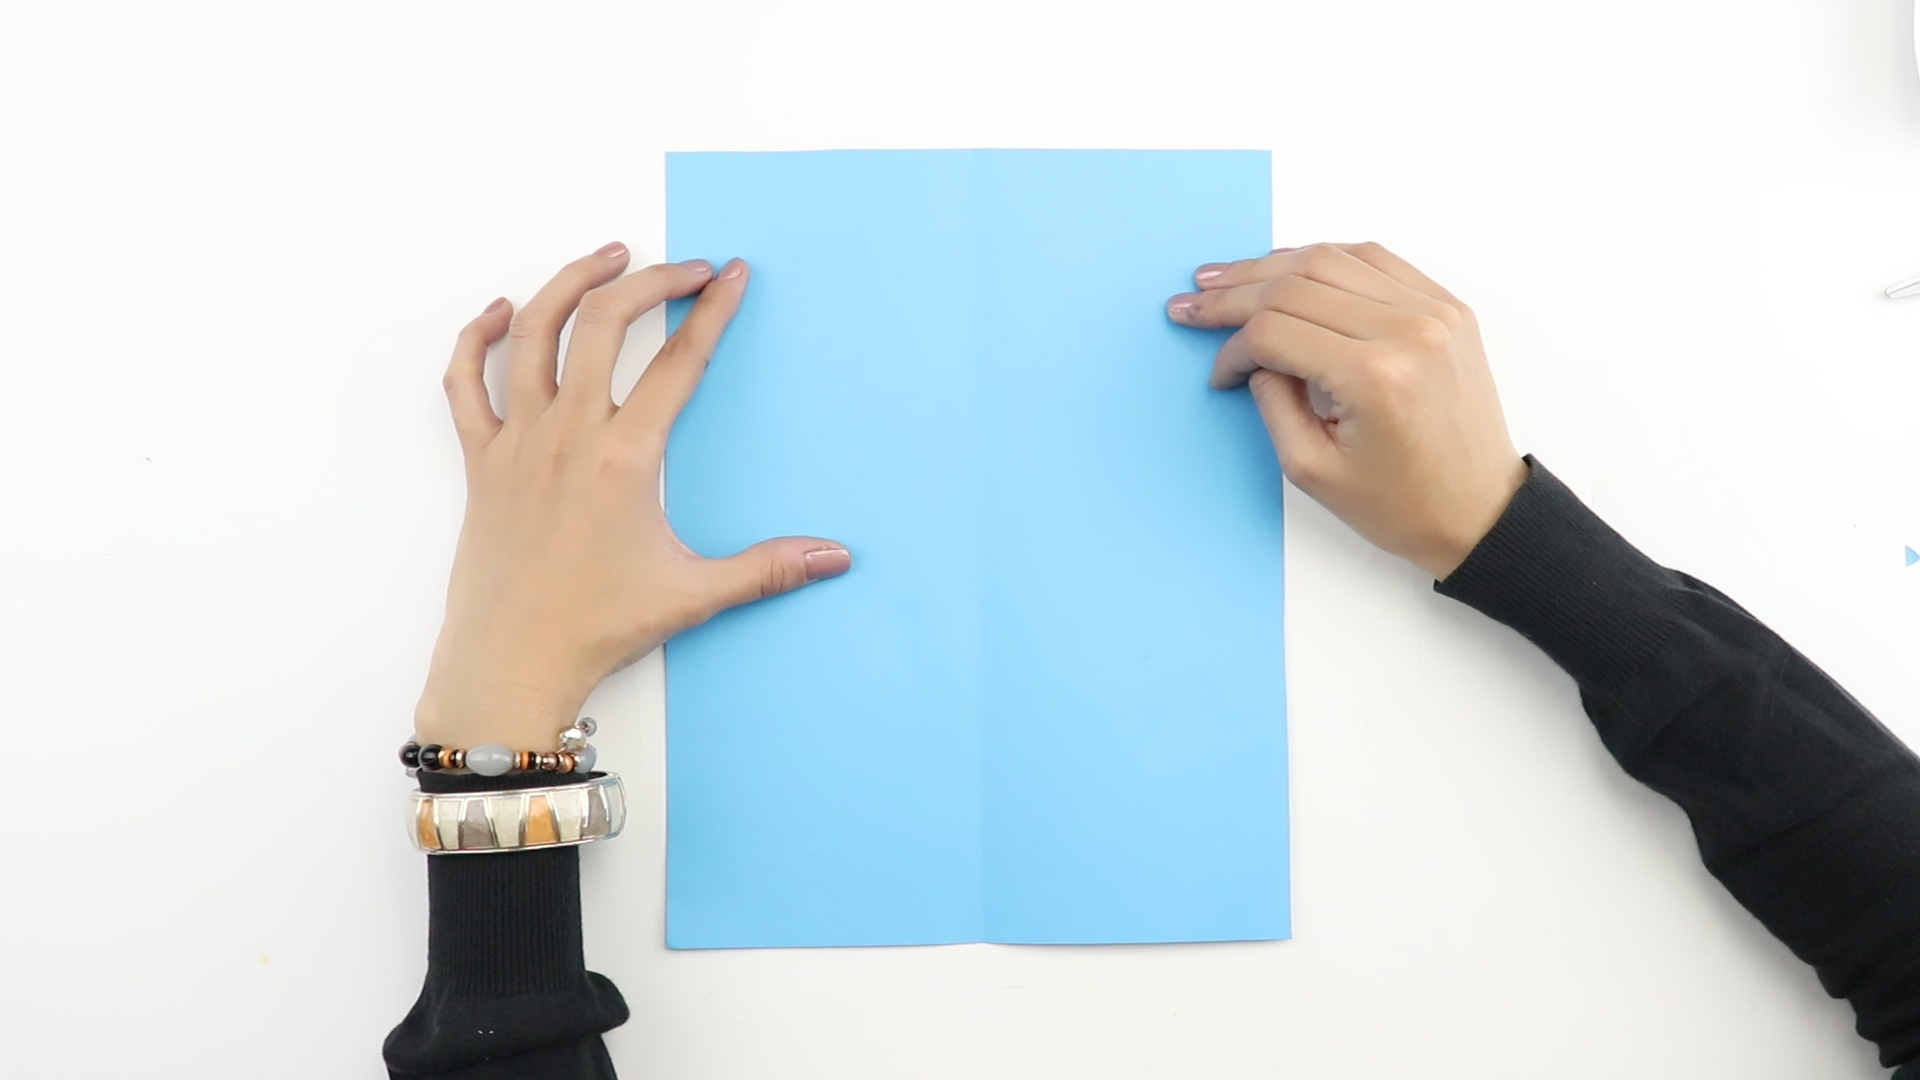
Lay your paper on a table in portrait orientation, with the shorter edges at the top and bottom. Make sure the page is flat and free from old creases. A wrinkled sheet can still fly, but it may develop personality issues.
Step 2: Fold the Paper in Half Lengthwise
Bring the left long edge over to meet the right long edge. Press down firmly along the fold, then reopen the paper. You should have a vertical center crease running from top to bottom.
Step 3: Fold the Top Corners to the Center Line
Take the top left corner and fold it diagonally toward the center crease. Repeat with the top right corner. The two edges should meet neatly in the middle, forming a pointed roof shape at the top of the paper.
Step 4: Fold the Slanted Edges Inward Again
Now fold each new slanted outer edge toward the center line one more time. This creates a narrower, sharper nose and gives your paper jet a sturdier fuselage. Keep the folds even. A lopsided nose is a reliable way to send your aircraft on an unexpected sightseeing tour.
Step 5: Fold the Entire Plane in Half
Fold the paper along the original center crease, bringing the two sides together. The sharp nose should now point forward, and the folded edges should be on the outside.
Step 6: Create the First Wing
With the folded spine facing down, fold one top layer downward to form a wing. Leave about one inch of paper along the bottom to create the body of the jet. The wing should angle slightly upward from the nose toward the tail.
Step 7: Create the Second Wing
Turn the plane over and repeat the same fold on the other side. Check the jet from the front. Both wings should be the same width and angle. Matching wings are not optional if you want stable flight; your paper jet is not trying out for interpretive dance.
Step 8: Flatten the Wings
Open both wings so they spread out from the body. The finished plane should resemble a small fighter jet or a particularly ambitious office memo. Keep the wings nearly level, with only a slight upward angle if needed.
Step 9: Add Small Rear Flaps
At the back edge of each wing, fold up a narrow strip about one-quarter inch wide. These small flaps act like elevators. They can help the plane glide more smoothly and give you an easy way to tune its flight.
Step 10: Check the Nose and Body
Press the center body firmly so it stays narrow and stiff. A strong center fold helps the jet slice through air more cleanly. If the nose opens during flight, reinforce the underside with one small piece of tape.
Step 11: Test Your Paper Jet Airplane
Hold the plane near the bottom of the body. Throw it forward with a smooth, level motion. Do not launch it straight upward unless your goal is to study ceiling tiles at close range. A moderate, controlled toss usually works better than a dramatic baseball pitch.
Step 12: Tune the Flight
Observe what happens. Does it dive? Loop? Turn? Glide beautifully for three seconds and then suddenly become a floor-seeking missile? Each result gives you information about the design.
How to Make Your Paper Jet Fly Better
The first version is only the beginning. Experienced paper airplane builders treat every flight as data, not defeat. The Smithsonian has highlighted how serious paper-plane designers use trial, assessment, and repeated modification to improve performance.
If the Paper Jet Dives Too Quickly
Lift both rear flaps slightly upward. Make very small adjustmentsabout one or two millimeters at a time. Raising the flaps changes the angle of the rear wing area and can help the nose stay up longer.
If the jet still dives, check whether the nose is too heavy. Remove any extra tape or paper clips. You can also widen the wings slightly by unfolding and refolding them at a gentler angle.
If the Paper Jet Climbs and Stalls
If the plane climbs sharply, slows down, and then drops backward or nose-first, lower the rear flaps a little. The plane may be generating too much upward pitch for its speed and balance.
You can also add a tiny paper clip near the nose. This moves the center of gravity forward. Use only one small clip; adding too much weight turns your elegant jet into a paper brick with wings.
If the Plane Turns Left or Right
A turning plane usually has uneven wings or uneven flaps. Compare both sides from the front and rear. Make sure the wings have matching widths and that both rear flaps are raised equally.
If it keeps turning right, gently bend the left rear flap slightly upward or the right rear flap slightly downward. Adjust one small detail at a time, then test again.
If the Plane Wobbles
Wobbling often means the wings are too wide, too uneven, or too loosely creased. Sharpen the folds along the body and make sure the wings are symmetrical. A small upward bend at the wing tips may also improve stability, although results vary by design and throwing style.
Paper Jet Airplane Design Tips
Use Crisp Folds
Clean folds create a stronger, more predictable structure. Press every crease firmly with your fingernail, a ruler edge, or the back of a spoon. Soft, rounded folds make the plane less stable because the paper can shift during flight.
Keep Both Sides Symmetrical
Symmetry is the difference between a paper jet and a paper boomerang. Measure by sight before each fold. When both wings match, air pushes against them more evenly, helping the plane fly straighter.
Choose the Right Throw
A fast paper jet needs a firm but controlled release. Hold the body near the center, keep the wings level, and throw forward at a slight upward angle. Launching too hard can make the nose dip; launching too softly may leave the plane without enough speed to stay aloft.
Test Indoors First
Outdoor wind can make a good plane appear cursed. Test your first flights in a hallway, gym, garage, or large room. Once the jet flies straight indoors, try it outside on a calm day.
Turn Your Paper Jet Into a Simple STEM Experiment
A paper jet airplane is a small engineering laboratory that fits in a desk drawer. Rather than changing everything at once, test one variable at a time. Science Buddies and engineering education programs recommend controlling variables so you can tell which design change actually improved distance, time aloft, or stability.
Try making three identical jets. Keep one as your control plane. On the second plane, widen the wings by one-half inch. On the third, make the wings narrower. Fly each plane three to five times from the same starting line and record the longest distance.
You can also test:
- Different paper weights
- Wing width
- Wing angle
- Rear flap height
- Nose weight using a small paper clip
- Throwing angle
- Flight distance versus airtime
Mark a starting line with tape, use a measuring tape, and write results in a notebook. Repeat each test several times because even the best paper jet can be affected by a slightly different throw. Classroom activities from NSTA, TeachEngineering, PBS LearningMedia, and Education.com use this build-test-improve approach because it makes aerodynamics visible and fun.
Common Paper Jet Airplane Mistakes
Making the Wings Too Uneven
Even a tiny difference can cause a sharp turn. Fold both wings carefully and compare them before flying.
Using Too Much Tape
Tape is helpful for a loose nose or torn crease, but too much tape adds weight. Use the smallest amount needed.
Throwing Too Hard
More force does not always mean more distance. A violent throw can bend the wings or make the nose dive. Smooth launches win more often than heroic launches.
Changing Several Things at Once
If you widen the wings, move the flaps, add a paper clip, and change your throwing angle all at once, you will not know what helped. Change one feature, test it, and then make the next adjustment.
Ignoring Safety
Paper airplanes are harmless until someone decides they are precision-targeting equipment. Do not throw them at people, pets, windows, lights, food, drinks, or anyone holding a very expensive coffee.
Frequently Asked Questions About Paper Jet Airplanes
What paper works best for a paper jet airplane?
Standard 20-pound printer paper is a great starting point. It is easy to fold, widely available, and balanced enough for most dart-style paper jets.
How can I make a paper airplane fly farther?
Use sharp folds, balanced wings, a narrow body, and a smooth forward throw. Test small flap adjustments and make sure the plane is not too nose-heavy or too tail-heavy.
Why does my paper jet keep spinning?
The wings or rear flaps are probably uneven. Flatten the plane, compare both sides, and make small corrections. A twisted center body can also create spin.
Should paper airplane wings point up or stay flat?
Start with wings nearly level. A very slight upward angle can help stability, but too much upward angle may create drag and reduce speed.
Can I decorate a paper jet airplane?
Absolutely. Add a cockpit, squadron number, stripes, or a name such as “Thunder Receipt,” “Desk Falcon,” or “The Lunch Break Express.” Keep decorations light so the paper does not become too heavy.
Conclusion: Build, Launch, Adjust, Repeat
Learning how to make a paper jet airplane is less about finding one magical fold and more about becoming a tiny aircraft designer. Start with a balanced dart-style jet, crease every fold sharply, and launch it with a smooth forward motion. Then watch carefully. A dive, stall, spin, or long glide is not failureit is flight data wearing a dramatic costume.
Once you understand how wing shape, weight, rear flaps, and throwing angle affect performance, you can create a fleet of paper jets for distance contests, classroom projects, rainy-day challenges, or harmless office glory. Your first plane may not break a world record. It might not even make it past the couch. But the next version could fly like it has somewhere important to be.
My Experience Making and Flying Paper Jet Airplanes
Making paper jet airplanes has always felt like a strange mix of childhood fun, accidental engineering, and low-stakes competition. You begin with a plain sheet of printer paper that may have been sitting beside a computer, hiding under a stack of bills, or waiting to become a grocery list. Five minutes later, that same paper has a pointed nose, sharp wings, and a name that sounds suspiciously like a classified military project.
My first attempts at making paper jets usually looked impressive while sitting still. The folds were crisp, the wings were sharp, and the nose pointed forward with undeniable confidence. Then came the first throw. Instead of soaring across the room, the jet often made a dramatic left turn, brushed past a chair, and landed under a table as if it had suddenly remembered an urgent appointment there.
That is when the real fun begins. A paper jet airplane teaches patience because every tiny adjustment can change the flight. Raising both rear flaps by a few millimeters can turn a nose-diving plane into a smooth glider. Straightening one wing can stop an endless spiral. Adding one small paper clip near the nose can make the plane fly fartheror make it plunge to the floor with the enthusiasm of a dropped stapler.
I have found that the best flights happen after several boring-looking adjustments. The first version of a paper jet is rarely the champion. The second version is better. The third version might fly straight. By the fourth or fifth version, the plane begins to feel less like folded paper and more like a tiny machine with a personality. Some jets prefer a gentle launch. Others need a firm throw. Some glide gracefully across a room, while others race forward so quickly that they seem personally offended by gravity.
One of the most enjoyable ways to make paper jet airplanes is with a group. Give everyone the same paper, the same amount of time, and the same launch area. Then create categories such as longest distance, longest airtime, best design, funniest crash, and most dramatic recovery. The funniest crash category is important because not every plane is born to be a champion, but every plane can contribute to the entertainment.
Paper jet contests also reveal how differently people solve the same problem. One person makes a narrow, fast dart with tiny wings. Another creates a wide-winged glider that floats gently but refuses to fly in a straight line. Someone else adds too much tape, too many decorations, and a cockpit large enough for imaginary passengers. The result may not fly far, but it usually earns respect for ambition.
I also like using paper airplanes as a quiet reset during a busy day. Folding forces you to slow down and pay attention to simple details: lining up corners, pressing creases, checking symmetry, and making one careful adjustment at a time. Launching the finished jet offers an instant result. It either flies well, flies badly, or performs a move never before seen in aviation history.
The most memorable paper jet flights are not always the longest ones. Sometimes the best flight is the one that surprises you: a plane that glides across a room after several failed attempts, lands perfectly on a desk, or makes a gentle curve before touching down like it has trained for years. Those moments make a sheet of paper feel like a small invitation to experiment, laugh, and try again.
In the end, making a paper jet airplane is a reminder that good design does not always require complicated tools. Sometimes it begins with one ordinary piece of paper, a few thoughtful folds, and the willingness to keep testing until your little jet finally decides to cooperate.