Note: This guide is written for educational use and general planning. For structural slabs, garages, workshops, warehouses, or any floor carrying significant loads, follow engineered drawings, local building codes, and the advice of a qualified concrete professional. Concrete is friendly enough to pour, but it is not forgiving enough to ignore physics.
Placing and finishing a concrete floor looks simple from a distance: a truck arrives, gray soup slides down a chute, people in boots push it around, and somehow a flat floor appears. Easy, right? Not quite. A beautiful concrete floor is the result of timing, preparation, teamwork, and knowing when to touch the slaband when to stop touching it like an overexcited raccoon with a trowel.
Whether you are pouring a garage floor, basement slab, shop floor, patio-style interior slab, or utility room floor, the basic principles stay the same. You need a stable base, proper forms, the right concrete mix, good placement, careful screeding, timely floating, smart jointing, appropriate finishing, and serious curing. Skip one step and the floor may crack, dust, scale, curl, or look like it was leveled by a committee of squirrels.
This in-depth guide explains how to place and finish a concrete floor from start to finish, with practical tips, common mistakes, and jobsite experience that can help beginners understand what the pros are watching for.
What “Placing and Finishing” a Concrete Floor Really Means
Concrete placement is the process of getting fresh concrete into its final position without segregation, cold joints, trapped voids, or unnecessary movement. Concrete finishing is the process of shaping the surface after placement so it becomes flat, durable, functional, and visually acceptable.
For a concrete floor, finishing usually includes strikeoff or screeding, bull floating, edging, jointing, floating again, troweling if needed, applying a texture, and curing. The goal is not just “smooth.” The goal is a floor that matches its purpose. A broom-finished exterior slab needs traction. A garage floor needs durability and drainage. A shop floor may need a dense, hard-troweled finish. A decorative interior slab may need special care because every small wave, trowel mark, and color variation can become part of the final look.
Step 1: Plan the Floor Before the Concrete Truck Arrives
The best concrete floors begin before anyone pulls on rubber boots. Planning matters because fresh concrete has a schedule, and it does not care whether you are still looking for the bull float handle.
Check slab thickness and use
A light residential floor may call for a different slab thickness, reinforcement plan, subbase, and concrete strength than a garage or workshop floor. Many residential slabs are commonly around 4 inches thick, but the correct thickness depends on soil conditions, loads, climate, design requirements, and local codes. If vehicles, lifts, heavy equipment, or structural walls are involved, do not guess.
Order the right concrete mix
For most floor slabs, ready-mix concrete is ordered by compressive strength, slump, aggregate size, air entrainment if needed, and any admixtures. Slump describes workability, not quality. More water may make concrete easier to move, but excess water can weaken the slab, increase shrinkage, encourage cracking, and make finishing harder. If the mix needs better workability, ask the supplier about water-reducing admixtures rather than turning the slab into concrete soup.
Watch the weather
Hot, dry, windy weather can pull moisture from the surface too quickly. Cold weather can slow hydration and delay finishing. Rain can damage fresh concrete. Strong sun on one part of the slab and shade on another can create uneven set times. Concrete finishing is already a race against the clock; bad weather adds banana peels to the track.
Step 2: Prepare the Subgrade and Subbase
A concrete floor is only as good as what supports it. If the ground below settles, pumps moisture, or contains soft spots, the slab above may crack no matter how lovingly it was troweled.
Remove organic material
Topsoil, roots, wood scraps, and organic debris should be removed. Organic material decomposes and creates voids. Concrete does not enjoy hovering over tiny underground compost piles.
Compact the base
The subgrade should be firm and uniformly compacted. A layer of well-graded gravel or crushed stone is often used as a subbase to improve support and drainage. Compact it thoroughly. Uneven compaction is one of the quiet villains behind cracks and low spots.
Install a vapor retarder when needed
If the floor will receive moisture-sensitive flooring, coatings, adhesives, wood, vinyl, carpet, or polished interior finishes, a vapor retarder under the slab may be important. It reduces moisture migration from the ground into the slab. Placement of vapor retarders depends on the floor design, flooring system, and project specifications, so this is a place where the details matter.
Step 3: Build Strong, Accurate Forms
Forms define the shape, elevation, slope, and edges of the floor. If the forms are crooked, weak, or out of level, the slab will faithfully preserve those mistakes like a gray scrapbook.
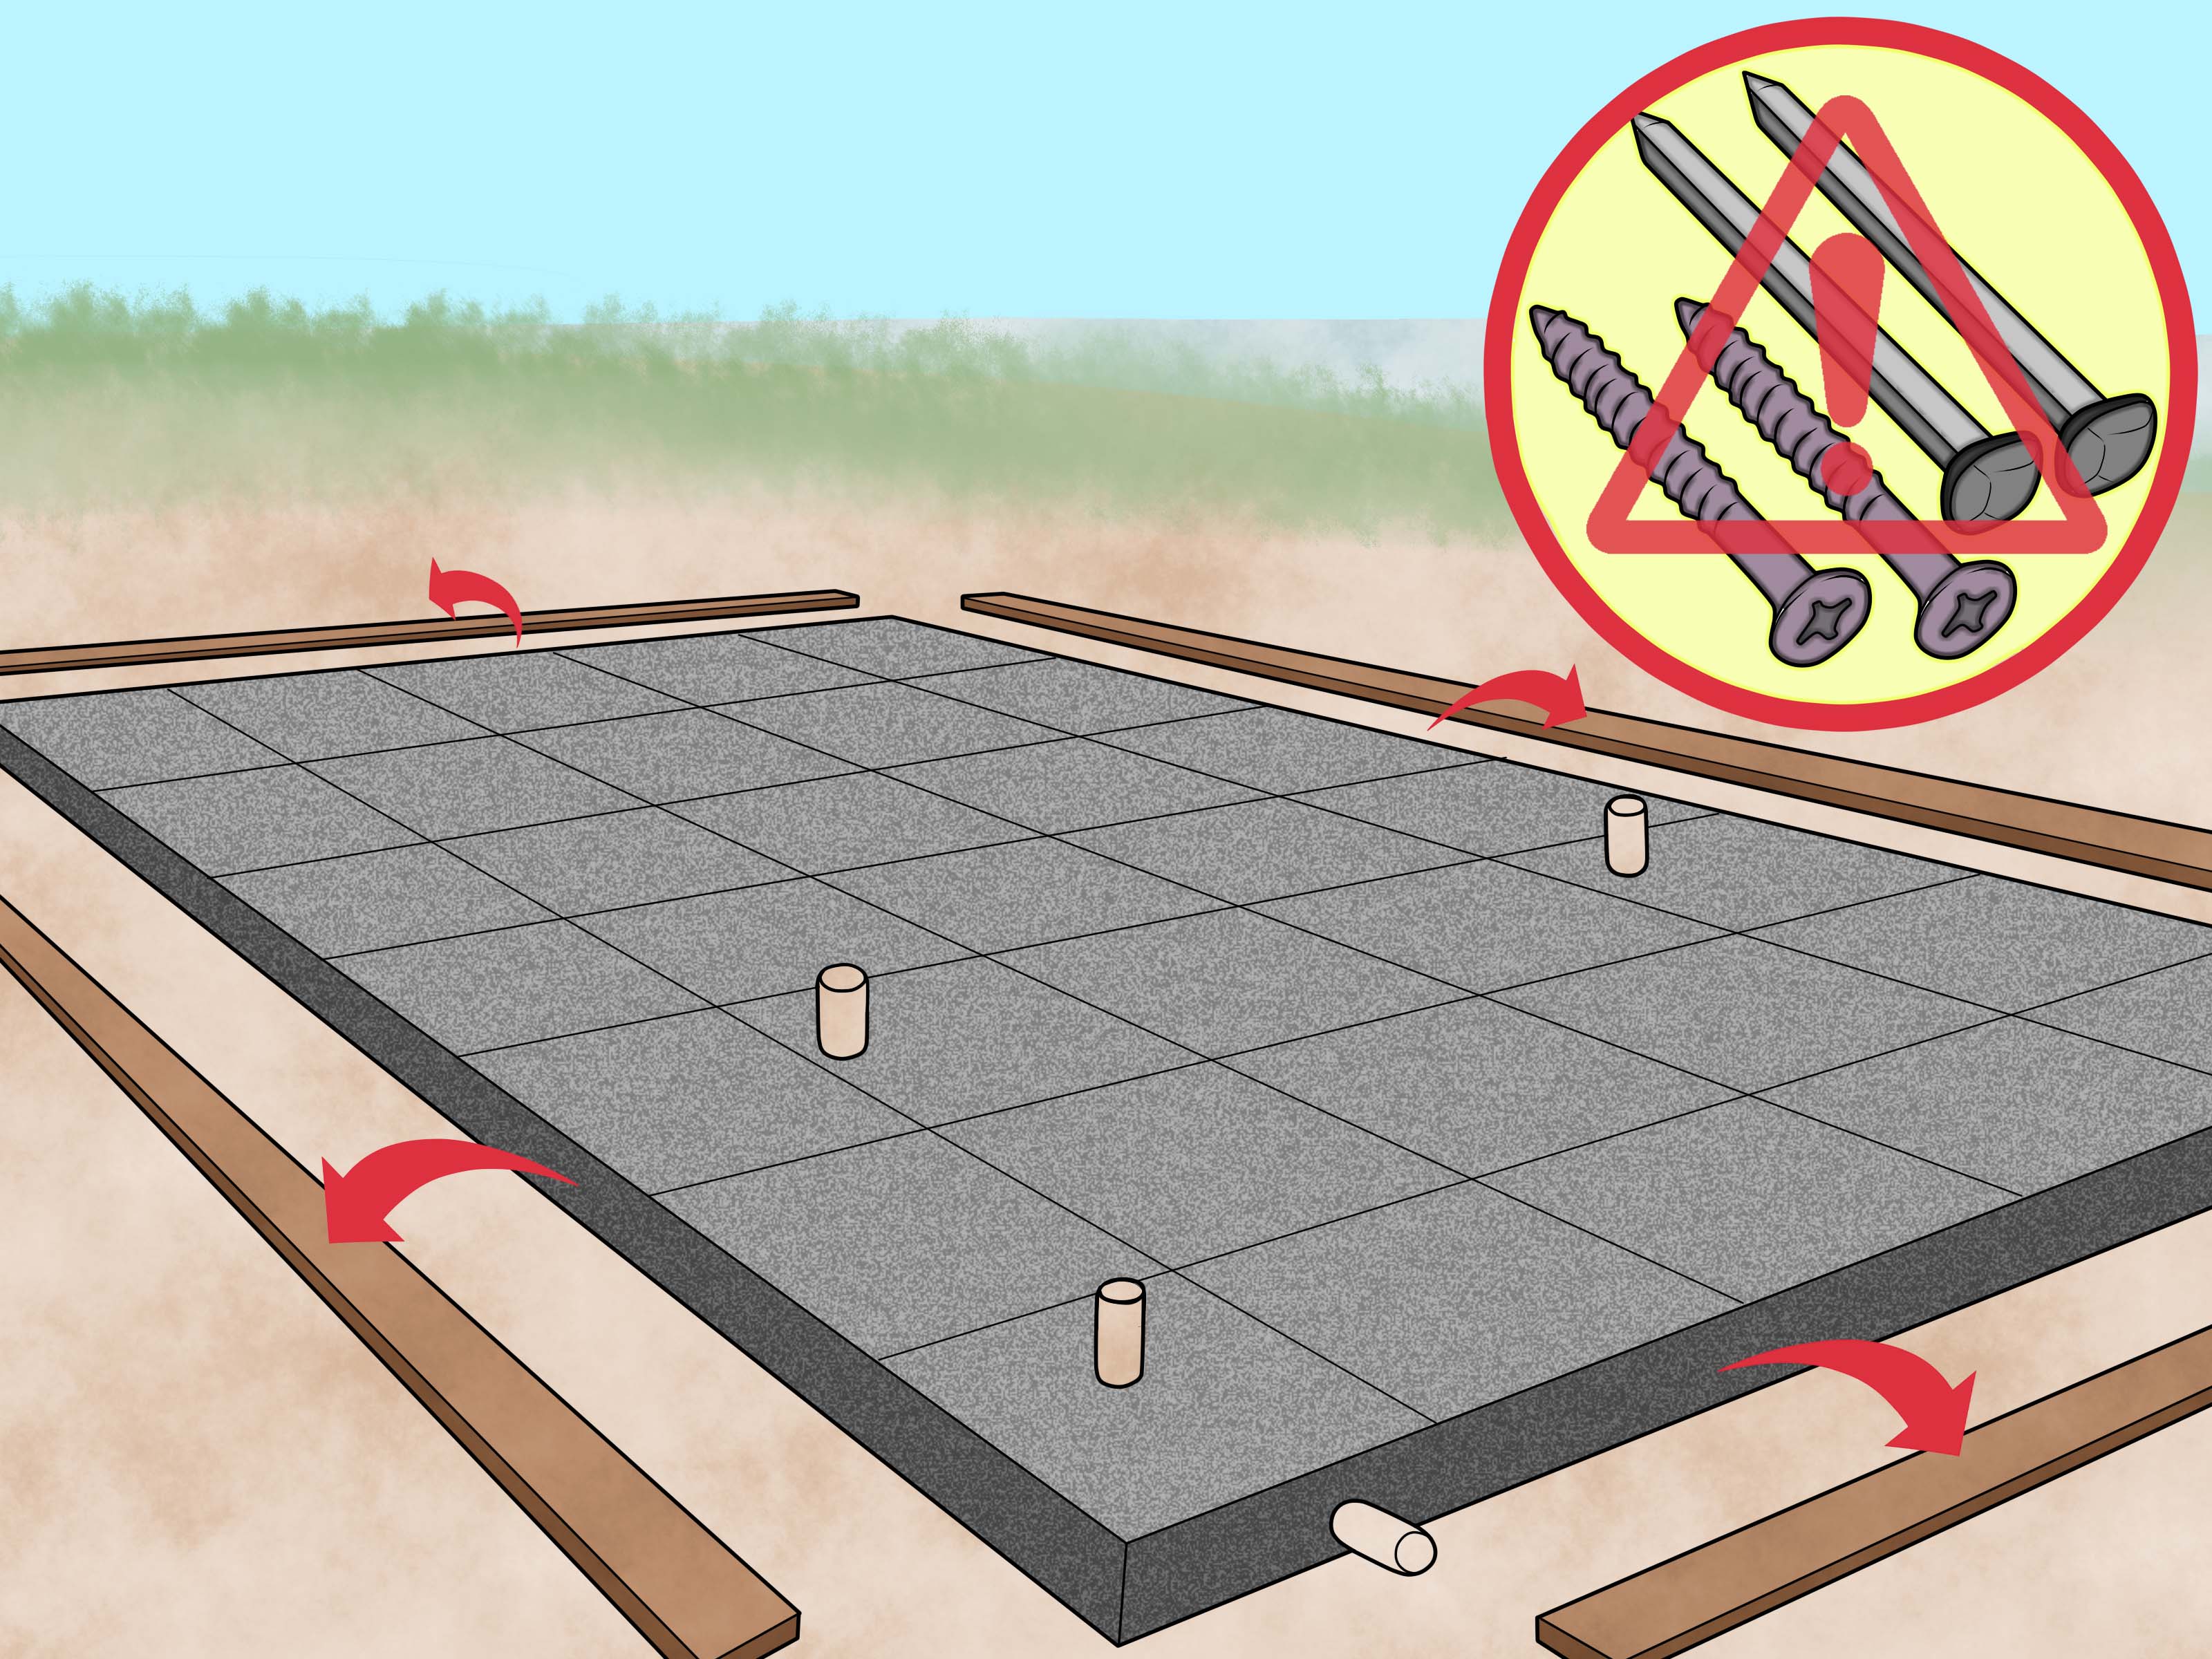
Set forms to the correct height and secure them with stakes. Check corners, diagonals, elevations, and slopes. For garage floors, confirm slope toward doors or drains if required. Coat wood forms lightly with form release or oil if appropriate, but avoid contaminating areas where bond is needed.
Before pouring, walk the forms and ask one simple question: “Can these survive a crew, a chute, a rake, and several thousand pounds of wet concrete pushing sideways?” If the answer is “probably,” add more stakes.
Step 4: Place Reinforcement Correctly
Reinforcement may include welded wire reinforcement, rebar, fibers, or a combination. Its purpose depends on the design. Reinforcement does not magically prevent all cracks, but it can help control crack width and improve slab performance.
The most common mistake is placing wire mesh on the ground and assuming it will somehow migrate to the correct position out of professional pride. It will not. Reinforcement should be supported so it sits at the specified depth in the slab. Chairs, dobies, or proper supports help keep reinforcement where it belongs during placement.
Step 5: Place the Concrete Without Overworking It
When the concrete arrives, verify the mix ticket and check that the delivered mix matches the order. Place concrete as close as practical to its final position. Avoid dumping concrete in large piles and dragging it long distances horizontally. That can cause segregation, where coarse aggregate separates from the mortar.
Use come-alongs, square shovels, rakes designed for concrete, and chutes or pumps as needed. Do not use a garden rake that looks like it retired from leaf duty in 1998. Spread the concrete evenly and keep the placement moving. On larger floors, plan the sequence so fresh concrete is placed against fresh concrete, reducing the chance of cold joints.
Step 6: Screed the Surface to Grade
Screeding, also called strikeoff, removes excess concrete and brings the surface to the proper elevation. A straight 2×4 can work for small slabs, while aluminum screeds, roller screeds, laser screeds, or vibratory screeds may be used for larger or more demanding floors.
Use a sawing motion as the screed rides along the forms or screed rails. Keep a small roll of concrete in front of the screed to fill low spots. If low areas appear behind the screed, add concrete immediately and rescreed. Screeding is not final finishing; it is the rough leveling pass. Think of it as the first haircut, not the wedding photo.
Step 7: Bull Float at the Right Time
After screeding, use a bull float or darby to flatten ridges, fill minor voids, and slightly embed coarse aggregate. Bull floating should be done promptly, before bleed water accumulates on the surface. Keep the float as flat as practical. Tilting too aggressively can tear the surface or create waves.
The bull float does not make the floor finished. It prepares the slab for later finishing. On wide floors, overlap passes and avoid overworking the surface. Too much floating can bring excessive paste to the top, weakening the wearing surface.
Step 8: Wait for Bleed Water to Disappear
This is one of the most important steps in concrete floor finishing: wait. Fresh concrete often bleeds, meaning water rises to the surface as solids settle. If you float, trowel, or seal the surface while bleed water is present, you can trap water under a paste layer. Later, the floor may dust, blister, delaminate, or scale.
The surface should lose its shiny water sheen before further finishing begins. A common field test is to press a gloved finger or step carefully near the edge. If the slab supports light pressure and bleed water is gone, finishing can continue. If water is still shining on top, put the trowel down and resist the urge to “help.” Concrete sometimes needs patience, not more elbow grease.
Step 9: Edge the Floor and Install Control Joints
Edges are finished with an edging tool to create a neat, rounded perimeter that resists chipping. Do this after bleed water disappears and the slab has stiffened enough to hold the edge.
Control joints, also called contraction joints, are intentional weak lines that encourage shrinkage cracks to occur in planned locations. Joints may be tooled into fresh concrete or saw-cut after the slab has hardened enough to avoid raveling. Joint spacing depends on slab thickness, mix design, reinforcement, layout, and project requirements. As a rough planning concept, joints are often laid out in panels as square as practical, because long narrow panels are more likely to crack randomly.
Isolation joints may also be needed around columns, walls, pipes, steps, or other fixed objects. Concrete shrinks as it cures. If it is locked tightly around obstacles, it may crack while trying to move.
Step 10: Float the Surface Again
After bleed water is gone, a hand float, magnesium float, wood float, or power float may be used depending on the slab and desired finish. Floating levels small imperfections, closes surface voids, and prepares the concrete for final finishing.
Wood floats leave a slightly rougher texture and are useful for surfaces that need traction or for air-entrained concrete. Magnesium floats produce a smoother finish and are common in many floor applications. Steel trowels should not be used too early or as a substitute for floating. That is like using a steak knife to spread peanut butter: possible, but suspicious.
Step 11: Choose the Right Final Finish
The final finish should match the floor’s use. A finish that is perfect for a warehouse may be wrong for a wet exterior walkway. A glassy trowel finish may look impressive, but it can be slippery when wet and may not be suitable for air-entrained exterior concrete.
Broom finish
A broom finish is common for exterior slabs, utility areas, and floors where slip resistance matters. After floating, drag a clean concrete broom across the surface in straight, consistent lines. The timing matters: too early and the broom tears the surface; too late and it barely leaves texture.
Trowel finish
A steel trowel finish creates a denser, smoother surface for interior floors, garages, shops, and areas where easy cleaning is important. Multiple passes may be made as the concrete stiffens, with the trowel angle increased slightly on later passes. Do not over-trowel, especially if bleed water is present. Overworking can weaken the surface and create defects.
Float finish
A float finish is less dense than a hard trowel finish and leaves a more open texture. It can be a good choice when another topping, coating, or floor treatment will be applied, depending on manufacturer requirements.
Decorative finish
Colored, stained, polished, stamped, or exposed aggregate floors require additional planning. Decorative concrete magnifies timing, mix consistency, curing method, and finishing technique. If the slab will be the final architectural surface, run a test panel first. Small mistakes look much larger when the floor is the star of the room.
Step 12: Cure the Concrete Properly
Concrete does not simply “dry.” It hardens through hydration, a chemical reaction between cement and water. Good curing keeps moisture and temperature conditions favorable so the concrete can develop strength and durability.
Curing should begin as soon as finishing is complete and the surface will not be damaged. Common curing methods include curing compounds, wet burlap, curing blankets, plastic sheeting, or continuous light moisture. The best method depends on the project, finish, weather, and future floor treatment. If a coating, adhesive, sealer, or polished finish will be applied later, confirm that the curing method is compatible.
Protect the floor from rapid drying, freezing, heavy traffic, and early loading. Concrete gains significant strength in the first week, but the traditional design-strength benchmark is often 28 days. That does not mean the floor is useless before then, but it does mean early abuse can leave permanent consequences.
Common Mistakes When Placing and Finishing a Concrete Floor
Adding too much water
Extra water makes concrete easier to place, but it can reduce strength, increase shrinkage, delay finishing, and weaken the surface. If the crew wants workability, use the correct mix design instead of casually baptizing the load.
Finishing over bleed water
This is a classic mistake. Trapping bleed water under a finished surface can lead to dusting, blistering, scaling, and delamination. Wait until the sheen is gone.
Skipping curing
A slab can look finished and still be vulnerable. Without curing, the surface may dry too quickly, reducing durability and increasing the risk of cracks.
Poor joint layout
Concrete will shrink. Control joints give it a polite invitation to crack where you planned. Without joints, it may crack wherever it feels dramatic.
Using the wrong finish
A slick hard-troweled surface is not ideal where water or mud will be present. A heavy broom finish may be annoying in a clean interior space. Match the finish to the floor’s job.
Safety Tips for Concrete Floor Work
Concrete work is physical, messy, and chemically harsh. Fresh concrete is highly alkaline and can burn skin. Wear waterproof gloves, long sleeves, eye protection, and rubber boots. Wash concrete off skin immediately. Do not kneel in wet concrete unless you enjoy explaining preventable injuries to a doctor.
Cutting, grinding, drilling, or polishing hardened concrete can create respirable crystalline silica dust. Use proper dust controls, water methods, ventilation, and respiratory protection when required. Also plan for safe lifting, clear walking paths, backup alarms around trucks, and good communication. A concrete pour is not the time for interpretive dance near a chute.
Practical Experience: Lessons From Real Concrete Floor Jobs
One of the biggest lessons from concrete floor work is that preparation feels slow until the pour startsthen every missing detail becomes an emergency. Before concrete arrives, the site should feel almost boring. Tools laid out. Screed boards ready. Floats clean. Edgers nearby. Knee boards available. Water source planned. Curing materials on site. Forms checked. Reinforcement supported. Everyone knows their role. A boring setup is a beautiful thing.
A useful habit is to walk the floor from the concrete truck’s point of view. Where will the chute reach? Where will the crew start? Where will extra concrete go? Can workers move without stepping on reinforcement or dragging boots through areas already finished? If using wheelbarrows or buggies, is the route strong enough and wide enough? Many small-floor disasters begin with a simple sentence: “We’ll figure it out when the truck gets here.” That sentence has ruined more weekends than rain and in-laws combined.
Another experience-based tip is to respect the set time. Beginners often panic when the slab looks rough after screeding. They keep touching it, floating it, dragging tools across it, and trying to make it perfect too early. Good finishers know concrete changes minute by minute. Early work is about getting the floor placed, leveled, and opened up. Later work is about refinement. The slab will tell you when it is ready if you pay attention to surface sheen, footprints, tool marks, and resistance under the float.
On warm, windy days, edges and thin areas often set faster than the middle. That means one person may need to watch edges while another handles the main field. On cool days, the slab may sit there looking wet forever, tempting everyone to complain, snack, and make bad decisions. Do not force the schedule by troweling over water. Bad timing can turn a promising floor into a dusty, blistered regret.
Tool cleanliness matters more than beginners expect. A nicked trowel, dirty broom, or warped screed can leave marks across the floor. Clean tools between uses, especially on decorative or interior floors. Keep the broom damp but not dripping. Keep trowel edges smooth. Do not drop clumps of old concrete onto the fresh slab. Concrete remembers everything, including the little pebble stuck to the bottom of your float.
For DIY work, size the project honestly. A small shed slab or utility pad may be reasonable with a few helpers. A large garage floor is a different animal. Once concrete is on the ground, there is no pause button. If you are short on labor, tools, experience, or confidence, hire help for the placement and finishing. You can still do prep work yourself, but the finishing window is where skill pays for itself.
Finally, take curing seriously. Many people celebrate when the surface looks done, then walk away. That is like baking bread, pulling it from the oven halfway through, and saying, “Looks brown enough.” Curing protects the investment you just made. Cover it, spray it, cure-and-seal it, or follow the specified method. Keep traffic off it as long as practical. The best concrete floors are not just placed well and finished well; they are protected while they become strong.
Conclusion
Learning how to place and finish a concrete floor is really learning how to manage a sequence. Prepare the base, build solid forms, order the right mix, place concrete close to its final position, screed accurately, bull float promptly, wait for bleed water to disappear, joint intelligently, finish for the intended use, and cure without shortcuts.
Concrete is tough after it hardens, but fresh concrete is surprisingly sensitive. It punishes impatience, sloppy preparation, too much water, poor timing, and skipped curing. Treat it with respect and it can deliver a floor that is strong, flat, durable, and good-looking. Treat it casually and it may crack jokes at your expense for the next 30 years.
The good news is that the process is learnable. With the right planning, enough help, proper tools, and a willingness to wait when the slab says “not yet,” you can understand what makes a concrete floor succeed. And once you have watched a rough gray pour become a clean finished slab, you may understand why concrete finishers look tired, proud, and slightly suspicious of weather forecasts.