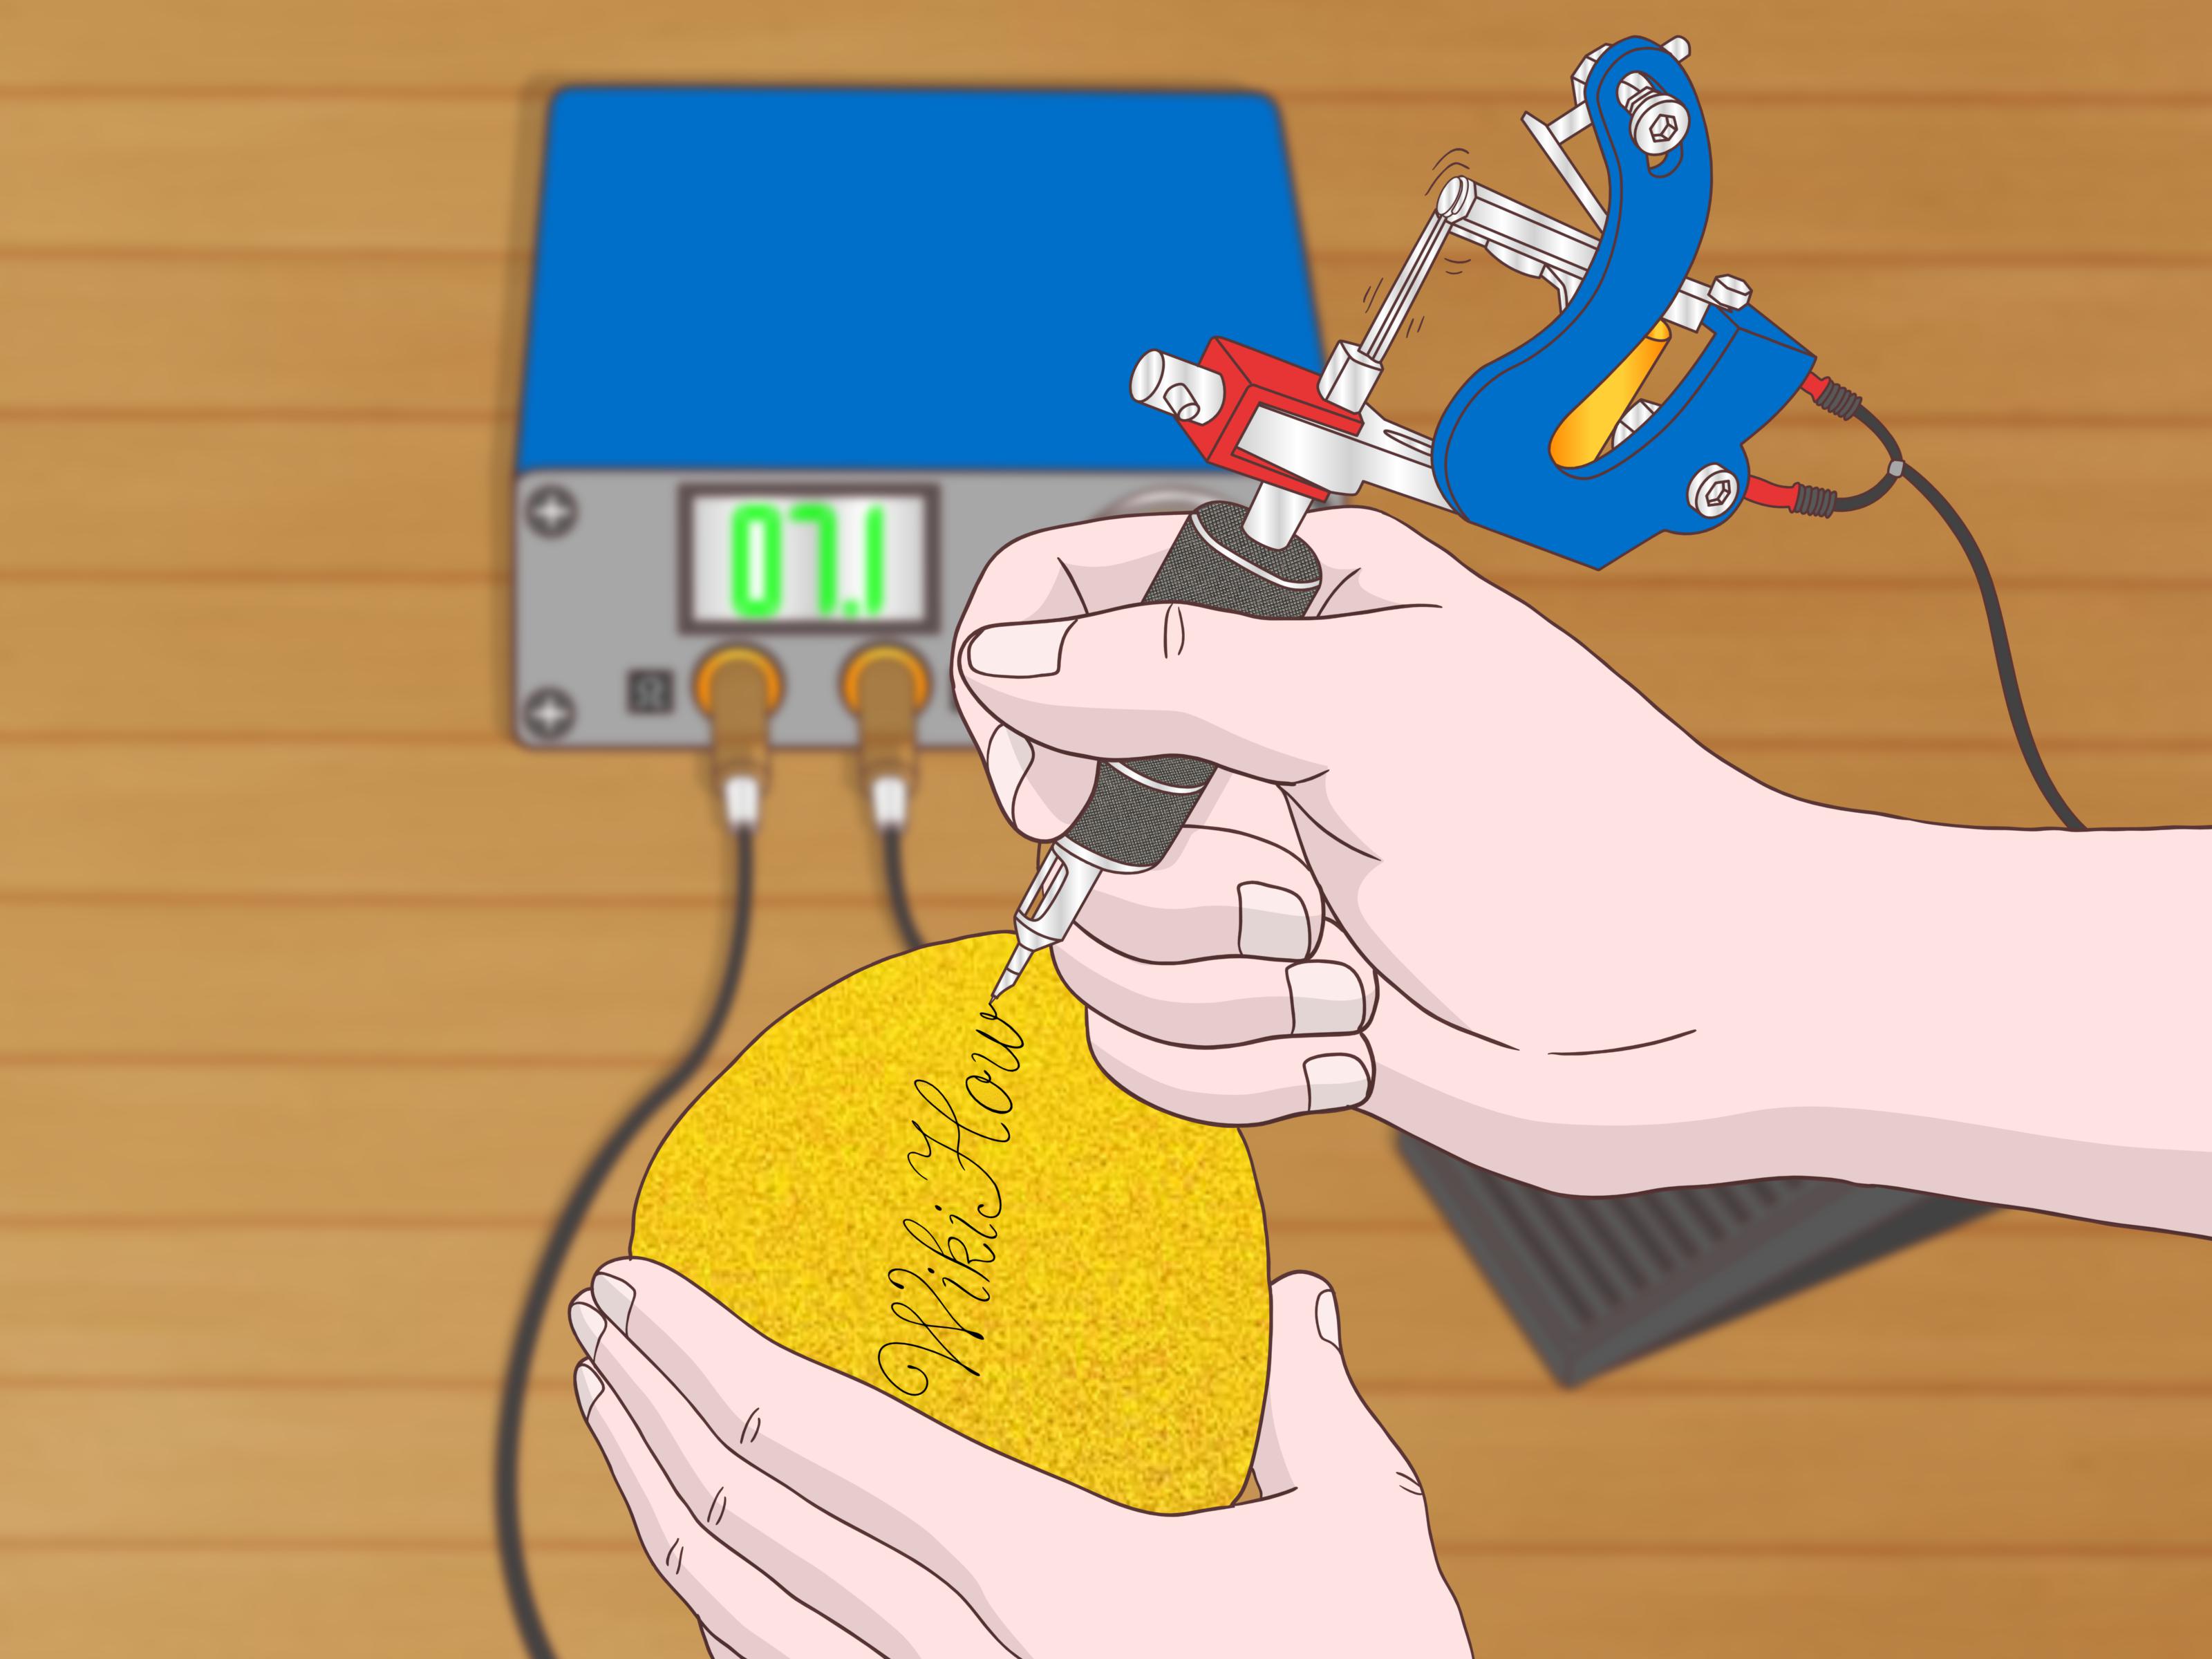
Setting up a tattoo machine is not simply a matter of installing a needle, pressing a button, and hoping your artistic talent handles the rest. A professional setup combines mechanical accuracy, electrical compatibility, infection control, and a repeatable workflow. Skip any one of those ingredients and your sleek new machine may behave less like a precision instrument and more like an angry electric toothbrush.
This guide explains how to set up your tattoo machine safely, including rotary pens, angled rotary machines, and traditional coil machines. It is intended for apprentices and trained artists working in licensed studios under qualified supervision. Before tattooing a person, complete bloodborne-pathogen training, learn your local body-art regulations, and practice extensively on purpose-made synthetic skin.
Understand Your Tattoo Machine Before Setting It Up
The correct assembly process depends on the kind of machine you own. Read the manufacturer’s manual first because cartridge compatibility, operating range, grip adjustment, cleaning methods, and power requirements vary considerably between models.
Rotary pen machines
A rotary pen uses an electric motor to create a smooth, cyclical needle motion. Most modern pens accept disposable needle cartridges and adjust needle extension by twisting the grip. Wireless models have a removable battery, while wired versions connect to a power supply through an RCA or another manufacturer-specific cable.
Rotary pens have fewer exposed components than coil machines, making them comparatively straightforward to assemble. “Straightforward,” however, is not the same as contamination-proof. The pen, battery, buttons, grip, and adjustment points can all become contaminated during a procedure.
Angled rotary machines
An angled rotary has a more traditional machine shape. Depending on its design, it may use cartridge grips or conventional needle bars, tubes, and grommets. Some models provide adjustable stroke or give; others have fixed settings. Never force a cartridge, cam, grip, or drive component that was not designed for the machine.
Coil tattoo machines
A coil machine uses electromagnetic coils to pull down an armature bar. This action breaks the circuit at the contact screw, the springs return the armature bar, and the cycle repeats rapidly. The needle bar attaches to the armature-bar post and travels through a tube and grip.
Coil machines offer extensive control over springs, contact gaps, stroke, speed, and duty cycle. They also require more setup knowledge. If the machine needs mechanical tuning rather than routine assembly, work with your mentor or an experienced machine builder. Randomly bending springs is not “finding your style.” It is generally finding a repair bill.
Gather the Correct Tattoo Machine Setup Supplies
Prepare everything before putting on procedure gloves. Leaving the workstation midway through setup increases the chance of touching cabinets, bottles, phones, or other unprotected surfaces.
- A clean, inspected tattoo machine and its manufacturer’s manual
- A compatible power supply, charged battery, or approved power pack
- A compatible RCA cord, clip cord, and foot switch when required
- Individually packaged, sterile, single-use cartridges or needles
- A compatible disposable or properly sterilized tube and grip
- Machine bags, battery covers, clip-cord sleeves, and barrier film
- Single-use ink caps and commercially manufactured tattoo ink
- Medical gloves in the correct size
- An appropriate surface disinfectant used according to its label
- A rigid, puncture-resistant sharps container
- Purpose-made synthetic practice skin for functional testing
Inspect sterile packaging for holes, moisture, broken seals, discoloration, or an expired date. Discard any compromised item. Do not attempt to rescue a questionable cartridge because it “still looks pretty clean.” Sterility is not a visual personality test.
Prepare a Clean and Organized Workstation
1. Separate clean and contaminated areas
Establish a clean setup area and a clearly defined contaminated zone. Position the lined waste container and sharps container where they can be reached without crossing the workstation or walking around with a used needle. Remove food, drinks, phones, bags, and unrelated personal items.
2. Clean and disinfect surfaces correctly
Clean visible soil first, then apply an appropriate disinfectant to the work surface, client chair, armrest, tray, lamp controls, and other relevant touchpoints. Follow the product label, including dilution instructions and wet contact time. Spraying and immediately wiping may make the room smell impressive, but it may not complete the required disinfection process.
Clean the tattoo machine according to its manual. Many motors, batteries, and electronic handpieces cannot be submerged or placed in an autoclave. Likewise, not every removable grip can be sterilized. Use only methods approved by the manufacturer.
3. Apply barriers before opening sterile supplies
Cover the power supply, machine or pen body, battery, cords, spray bottles, lamp handles, and any controls likely to be touched during tattooing. Fit barriers so they do not obstruct ventilation or create unsafe pressure on moving components.
A membrane cartridge can help reduce fluid backflow, but it does not eliminate the need for a machine barrier or proper cleaning. Barriers are single-use and must be replaced for every client.
4. Perform hand hygiene and glove appropriately
Wash and dry your hands using your approved studio protocol, then put on fresh medical gloves. Change gloves whenever they become torn, visibly contaminated, or after touching an unprotected object. Gloves do not turn a phone, drawer handle, or power cable into a clean surface by magic.
How to Set Up a Rotary Pen Tattoo Machine
- Inspect the machine. With the machine powered off, check the grip, drive mechanism, battery connection, seals, and threads. Confirm that the handpiece is clean, dry, undamaged, and properly assembled.
- Install the power source. Attach a fully charged manufacturer-approved battery or connect the correct cable to a compatible power supply. Do not turn the machine on yet. Route cords so they cannot be pulled, tripped over, or dragged across the procedure area.
- Cover the machine and battery. Slide a correctly sized machine sleeve over the pen. Secure the open end according to studio protocol without restricting the grip adjustment or forcing plastic into the cartridge opening.
- Open the sterile cartridge. Check the label for configuration, diameter, taper, and expiration date. Open the package immediately before use without touching the needle or cartridge tip.
- Insert and lock the cartridge. Align it with the machine or grip, push it into place, and rotate it only as directed by the manufacturer. Gently confirm that it is seated securely. If it does not lock smoothly, stop and verify compatibility.
- Set a conservative needle extension. Twist the grip to bring the needle gradually into view. Needle extension, sometimes called needle hang, is not the same as how deeply the artist penetrates skin. Actual working depth depends on hand pressure, machine angle, skin stretch, body location, stroke, and technique.
- Run a controlled function check. Hold the machine securely before switching it on. Start within the operating range specified in its manual and observe the cartridge above a protected tray. The needle should travel centrally and consistently without unusual noise, excessive vibration, stalling, or visible cartridge movement.
- Test on synthetic skin. Begin at the lower end of the manufacturer’s useful range and adjust in small increments. Evaluate line consistency, ink delivery, vibration, hand speed, and heat. Never use your own skin or another person as the test surface.
How to Set Up an Angled Rotary Machine
For a rotary machine fitted with a cartridge grip, install the grip and drive bar or plunger exactly as its manual specifies. Confirm that the drive mechanism engages the cartridge membrane without excessive resistance. After applying barriers, insert the sterile cartridge and adjust its extension through the grip.
For a model using a conventional needle bar, match the needle grouping to the correct tube tip. Carefully guide the sterile needle bar through the tube without striking or bending the needle points. Attach the needle-bar loop to the rotary drive pin with the correct grommet, secure the tube in the vise, and use only the stabilization method approved for that machine.
Turn the machine by hand, if the manufacturer permits, before applying power. This check helps reveal binding, incorrect alignment, or contact between the needle grouping and tube wall.
How to Set Up a Coil Tattoo Machine
Coil setup requires careful alignment because the needle bar, tube, armature bar, and frame operate as one system.
- Inspect the frame and hardware. With the power disconnected, check that coils, binding posts, springs, contact screw, armature bar, and tube vise are secure. Look for corrosion, damaged insulation, cracked springs, or loose connections.
- Match the needle and tube. Select a tube tip designed for the chosen needle grouping. An incorrect combination may cause rubbing, poor ink flow, needle damage, or excessive movement.
- Insert the sterile needle bar. Guide it through the tube slowly, protecting the needle points from contact with the tube wall. Do not use a needle that appears bent, hooked, dull, or irregular.
- Install the tube and grip. Slide the assembly into the tube vise and lightly secure it. Place a new grommet or nipple on the armature-bar post, then fit the needle-bar loop onto it.
- Check needle-bar orientation. The needle grouping should sit correctly within the tube tip. Orientation varies by configuration, so follow the needle and tube manufacturer’s guidance rather than relying on a one-rule-fits-everything shortcut.
- Stabilize the needle bar. Apply clean rubber bands with enough tension to reduce lateral movement without pulling the needle bar out of alignment or overloading the machine. More tension is not automatically better.
- Set the tube position. Depress the armature bar manually while the machine is disconnected and adjust the tube to establish a conservative needle extension. Tighten the vise without crushing a disposable tube.
- Connect power correctly. Apply the clip cord according to the machine’s polarity and builder instructions, connect the foot switch if used, and confirm that the power supply is compatible.
- Test under supervision. Hold the machine securely, begin at the builder’s recommended setting, and listen for a steady rhythm. Stop immediately if the machine sparks abnormally, overheats, binds, runs inconsistently, or produces excessive vibration.
Routine assembly is different from tuning. Altering the contact gap, spring tension, armature-bar weight, stroke, or duty cycle changes how a coil machine hits and returns. Have an experienced mentor demonstrate these adjustments and verify them with appropriate diagnostic tools.
Choose Safe Power and Speed Settings
There is no universal “best tattoo voltage.” Recommended operating ranges vary among pen, rotary, and coil machines, and two devices displaying the same voltage may behave differently. Stroke length, needle grouping, motor design, give, skin resistance, and the artist’s hand speed all affect performance.
Start with the manufacturer’s guidance, use the lowest effective setting, and make small adjustments on practice skin. Turning the power higher to compensate for weak technique can increase heat, vibration, cartridge wear, and skin trauma. A stable machine with a coordinated hand is more useful than a machine auditioning for a motorcycle rally.
Prepare Ink Without Contaminating the Bottle
Check current safety notices, the ink’s lot number, expiration information, and bottle condition before use. Place single-use ink caps on a stable protected surface and dispense only the amount needed for the procedure. Do not allow the bottle tip to touch a cap, glove, or contaminated surface.
Never return leftover ink to the original bottle. If dilution is appropriate for the product and technique, use only a sterile, suitable diluent according to applicable rules and manufacturer guidance. Nonsterile tap water can introduce harmful microorganisms. Record ink brands, colors, and lot numbers when required by local regulations or studio policy.
Final Pre-Procedure Safety Check
- The artist is trained, licensed or registered where required, and working in a permitted environment.
- The workstation has been cleaned, disinfected, and fully barrier-protected.
- The needle or cartridge came from an intact sterile package and is single-use.
- The tube, grip, and all reusable components were processed correctly.
- The machine, power source, cord, and cartridge are mutually compatible.
- The needle travels smoothly without binding or unusual lateral movement.
- Ink caps, disposable supplies, waste container, and sharps container are within reach.
- The machine has been tested on synthetic practice skin, not a person.
- Client consent, health screening, identification, and required records are complete.
- Written aftercare instructions and an exposure-response plan are available.
Common Tattoo Machine Setup Problems
The machine does not start
Check the battery charge, cable connections, power-supply output, foot-switch setting, cartridge seating, and polarity where relevant. Some machines need a manufacturer-specific start-up cable or jump-start function. If the motor remains unresponsive, stop troubleshooting at the workstation and consult the manual or authorized service provider.
The cartridge rattles or moves
Power down the machine and confirm that the cartridge is compatible and fully locked. Inspect the grip and cartridge housing for damage. Never hold a loose cartridge in place with tape or continue using it because the appointment has already started.
The needle rubs against the tube
Disconnect power and inspect the needle-bar orientation, tube size, alignment, grommet, and rubber-band tension. Replace the needle if it has contacted a surface or appears damaged. Repeated rubbing can produce inconsistent marks and damage the needle grouping.
The machine becomes unusually hot
Stop operating it. Excessive heat may result from an obstruction, incompatible cartridge membrane, incorrect power setting, excessive rubber-band tension, failing motor, coil problem, or prolonged operation. Let the machine cool and follow the manufacturer’s troubleshooting instructions.
Experience-Based Lessons That Make Setup More Reliable
The most useful lesson shared by experienced artists is that a smooth tattoo session usually begins with a boringly consistent setup routine. “Boring” is a compliment here. When every item has a designated position and every check happens in the same order, mistakes become easier to notice before a needle is opened.
New apprentices often focus heavily on voltage because it is a convenient number on a screen. In practice, the number is only one part of a larger system. A mentor may run the same machine at a different setting because their hand speed, stretch, angle, and pressure differ. Copying another artist’s voltage without copying their entire technique is like borrowing a chef’s oven temperature and expecting the same soufflé. The better habit is to begin with the manual, test on synthetic skin, observe the result, and document what changed.
Another recurring experience is that needle extension looks dramatically different when the machine begins running. Beginners sometimes set an aggressive amount while the machine is off, then discover that vibration and grip angle make the setup difficult to control. Starting conservatively provides room to evaluate the machine’s behavior. A mentor can then help distinguish visible needle hang from actual working depth, which must be controlled by the artist rather than delegated to the grip dial.
Barrier placement also improves with repetition. Early setups frequently leave tiny exposed areas around battery buttons, grip seams, power controls, or cable connectors. A useful exercise is to perform a mock session with no needle installed: adjust the light, change the machine setting, reach for rinse supplies, reposition the chair, and observe everything your gloved hands touch. Those contact points belong in the barrier and cleaning plan.
Artists using cartridges often learn that “universal” does not always mean identical. Membrane tension and manufacturing tolerances can change the load felt by a machine. If one cartridge makes a previously smooth pen labor, heat up, or sound strained, increasing the voltage is not the first solution. Power down, replace the cartridge, and check compatibility. Forcing the machine to overpower a defective or unsuitable component can turn a small consumable problem into an expensive motor problem.
Coil-machine users face a different learning curve. Small changes in tube position, rubber-band tension, contact alignment, or spring condition can affect the sound and movement of the machine. Experienced builders develop an ear for a healthy rhythm, but sound alone is not a complete diagnostic method. Apprentices benefit from recording the builder’s baseline configuration and changing only one variable at a time under supervision. Otherwise, three simultaneous adjustments may produce a better sound while hiding a worse mechanical problem.
Organization matters during breakdown as much as setup. The sharps container should already be within easy reach before work begins. After a session, the used cartridge or needle goes directly into that container without recapping, disassembly, or a sightseeing tour across the studio. Barriers should be removed in a way that avoids transferring contamination to the cleaned machine underneath. Hands are washed after glove removal, and the workstation is cleaned and disinfected for the full labeled contact time.
Finally, professionals know when not to proceed. A torn package, uncertain ink history, damaged cable, loose cartridge, failed barrier, unexplained machine heat, or contaminated glove is a reason to pause and correct the setup. Clients generally appreciate a careful artist. They are considerably less enthusiastic about an artist who says, “It’s probably fine,” while holding a device full of rapidly moving needles.
Conclusion
Learning how to set up your tattoo machine means mastering much more than mechanical assembly. A dependable setup combines compatible components, conservative adjustments, clean barriers, sterile single-use needles, safe ink handling, controlled power, and disciplined disposal.
Rotary pens offer convenient cartridge-based assembly, angled rotary machines may support several grip systems, and coil machines require close attention to alignment and tuning. Regardless of machine type, follow the manufacturer’s manual, comply with local body-art laws, work under qualified supervision, and test every new configuration on synthetic skin. A tattoo machine should become predictable before it ever becomes personal.