Learning how to stand at ease sounds simple until you actually try it in formation. Suddenly your feet feel like they were installed by committee, your hands do not know where to live, and your brain starts asking dramatic questions like, “Am I allowed to blink?” Good news: standing at ease is not a mysterious military spell. It is a controlled rest position used in drill, ceremonies, cadet programs, inspections, and formal group settings.
In many U.S. drill environments, “at ease,” “stand at ease,” and “parade rest” are related but not always identical. Some organizations use “stand at ease” to mean a more formal rest position close to parade rest. Others use “at ease” to allow a little more relaxation while still requiring silence, discipline, and keeping the right foot in place. Because rules can vary, the golden rule is simple: follow your instructor, commander, school, unit, or program manual. The second golden rule? Do not freestyle. Formation is not the place to debut your interpretive dance career.
This guide breaks the movement into 10 practical steps, explains common mistakes, and adds real-world tips for staying comfortable, respectful, and sharp while standing at ease.
What Does “Stand at Ease” Mean?
To stand at ease means to move from a strict attention posture into a disciplined rest position. You are more relaxed than you are at attention, but you are not lounging, chatting, swaying, or checking whether your shoes have suddenly become interesting. In most drill settings, you remain standing, stay quiet unless told otherwise, maintain your place in formation, and keep your body controlled.
Think of it as “professional rest.” You are resting, but you are still part of a formal group. Your posture should say, “I am alert and ready,” not “I am waiting for a bus after three slices of pizza.”
How to Stand at Ease: 10 Steps
Step 1: Start from the Position of Attention
Most formal rest positions begin from attention. Stand tall with your heels together or aligned according to your organization’s standard. Keep your body upright, shoulders level, head facing forward, and arms properly placed at your sides if that is your attention position.
Do not begin from a slouch, shuffle, or casual stance. Starting clean makes the whole movement cleaner. If attention is the “home screen” of drill, then stand at ease is one organized tap away.
Step 2: Listen Carefully for the Command
Drill commands are not suggestions floating through the air like background music in a grocery store. Listen for the exact command: “Stand at ease,” “At ease,” or “Parade, rest.” Your response depends on the command and your organization’s rules.
In many U.S. contexts, “at ease” means you may relax in a standing position while keeping the right foot in place and staying silent. In other training settings, “stand at ease” may require a more formal body position similar to parade rest, sometimes with the head and eyes directed toward the person in charge. When in doubt, ask during practice, not during the ceremony when 300 people are watching and your brain has become mashed potatoes.
Step 3: Keep Your Right Foot Anchored
One of the most important details is keeping your right foot in place. The right foot acts like your anchor. It helps maintain spacing, alignment, and formation order. If everyone casually moves around, the formation starts looking less like a disciplined group and more like a shopping cart corral after a windy day.
Move only the part of your body allowed by the command. For many rest positions, the left foot moves while the right foot remains planted. In a less formal “at ease,” you may be allowed to shift slightly, but your position in formation should not change.
Step 4: Move the Left Foot into Position
If your version of stand at ease follows the parade-rest style, move your left foot smartly to the side. Many U.S. drill references use a 12-inch spacing between the heels for parade rest, measured from the inside of the heels. Your feet should be apart enough to feel stable, but not so wide that you look like you are guarding a soccer goal.
Keep both heels generally on line and avoid twisting your feet at odd angles. The movement should be sharp, simple, and controlled. Do not stomp like you are trying to wake the floor. Smart movement is crisp, not theatrical.
Step 5: Place Your Hands Correctly
For formal stand-at-ease or parade-rest style positions, the hands usually move behind the body. A common method is to extend and join the fingers, place one hand in the other, and position the hands at the small of the back or centered behind the body according to your program’s rule. Some manuals describe the thumbs forming an “X.”
The key is consistency. Your hands should not fidget, flap, scratch, adjust sleeves, inspect belt loops, or start a secret negotiation with your uniform. Once your hands are set, leave them there unless given another command.
Step 6: Keep Your Legs Straight but Not Locked
Standing at ease should look steady, but your knees should not feel like steel rods. Keep your legs straight enough to appear disciplined, but avoid locking your knees hard, especially during long ceremonies or warm weather. Locked knees can make standing uncomfortable and may increase the chance of feeling lightheaded.
A good mental cue is “tall, not stiff.” You are not a statue. You are a human being performing a formal posture. Statues do not have circulation problems, but you do, so be smart.
Step 7: Align Your Upper Body
Stand tall with your chest naturally lifted, shoulders relaxed but not rounded, and your head balanced over your spine. Good standing posture reduces strain and helps you look confident without trying too hard. Your chin should not point at the clouds, and your shoulders should not creep toward your ears like they are trying to escape.
Use this quick check: ears over shoulders, shoulders over hips, hips over feet. Keep the body balanced, with weight distributed evenly. If you feel yourself leaning back on your heels or tipping forward onto your toes, gently reset.
Step 8: Control Your Head and Eyes
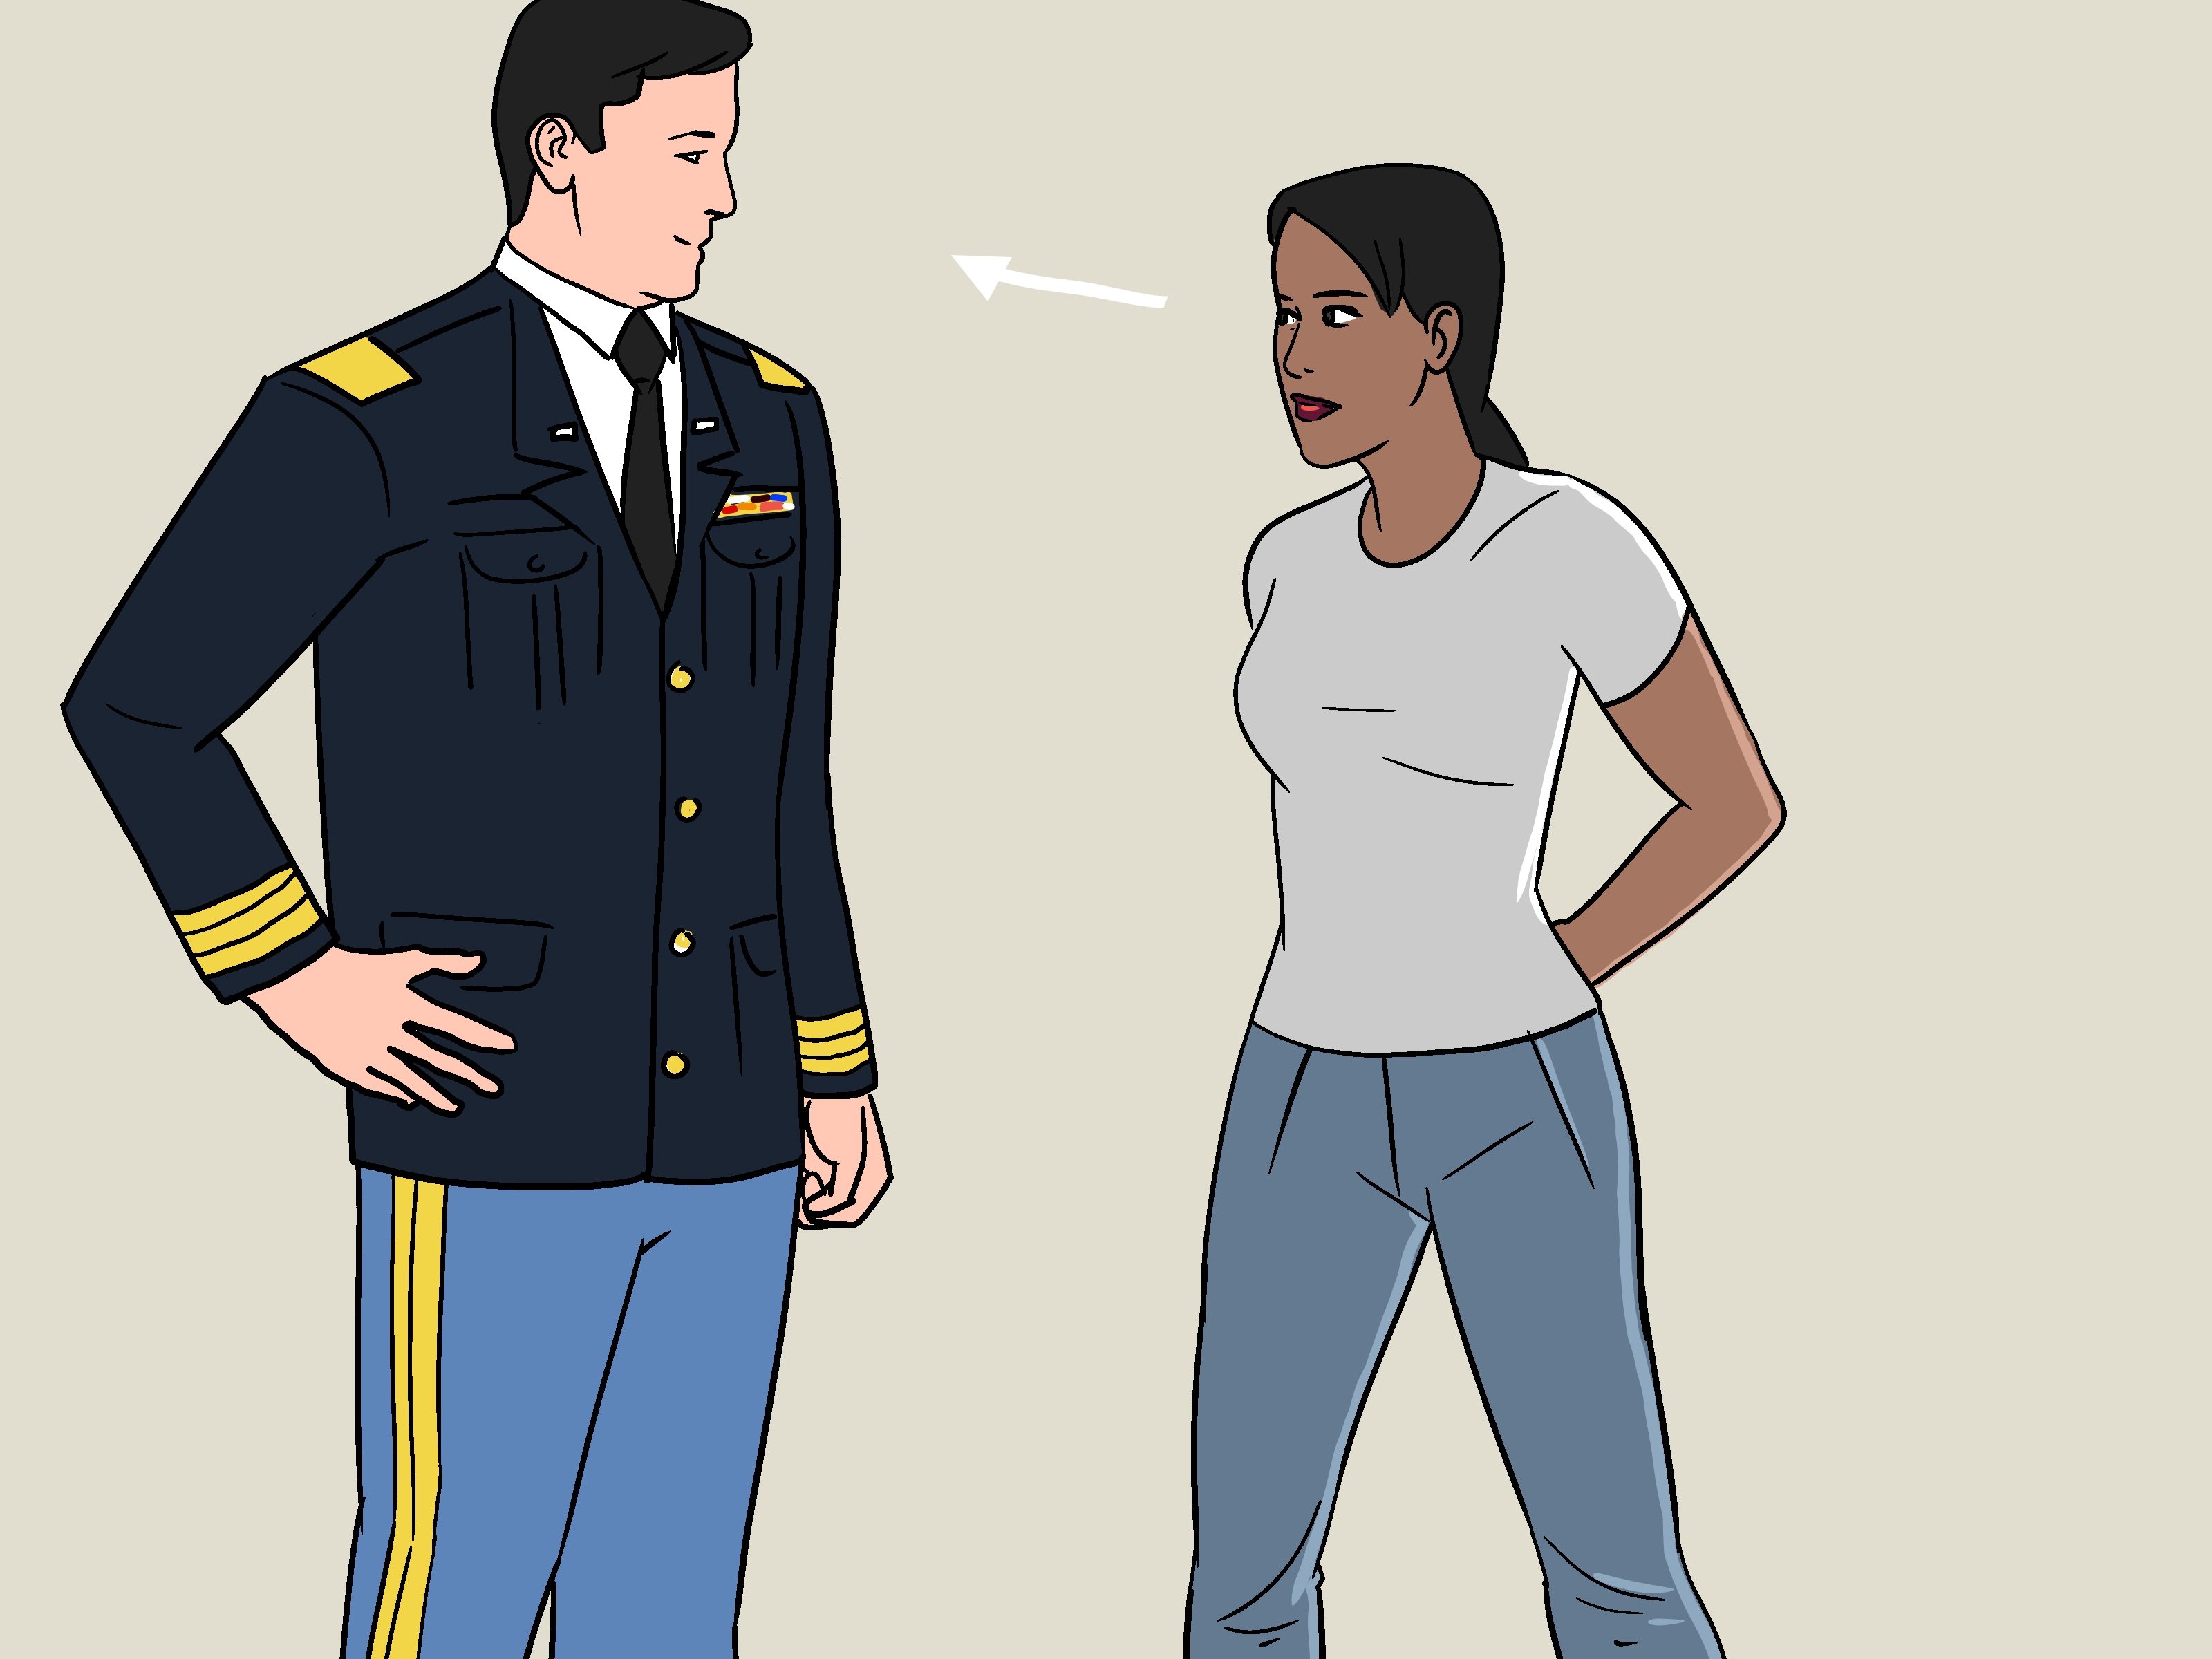
Depending on the version you are practicing, your head and eyes may stay forward, or you may turn them toward the person in charge. In some Army-style descriptions of stand at ease, the body assumes parade rest while the head and eyes turn directly toward the leader. In other contexts, at ease may simply mean relax while standing, keep silent, and maintain your place.
What should you not do? Scan the crowd, stare at your friend, follow birds, read posters, or make eye contact with your parent until they start smiling and you almost laugh. Your eyes are part of the posture too.
Step 9: Stay Silent Unless Told Otherwise
At ease is not the same as casual conversation time. In many drill settings, “at ease” allows some physical relaxation but still requires silence. “Rest” may permit moderate speech in some organizations, but only if the command and local rules allow it.
Silence matters because formation depends on attention, respect, and readiness. It also prevents the classic domino effect: one whisper becomes two whispers, two whispers become a tiny committee meeting, and suddenly nobody hears the next command.
Step 10: Return to Attention Correctly
When you hear the command to return to attention, move immediately and cleanly. In many drill systems, personnel at ease or rest first assume a more formal rest position on the preparatory part of the command, then snap to attention on the command of execution. Your instructor will teach the exact method used by your group.
The important point is readiness. Standing at ease is still an alert posture. You should be able to return to attention without delay, confusion, or that tiny panic hop people do when they forgot where their feet are.
Common Mistakes When Standing at Ease
Moving the Right Foot
This is probably the most common mistake. In many versions of at ease, the right foot stays in place. Moving it can ruin spacing and make the formation look uneven. Keep it planted unless your instructor directs otherwise.
Talking Too Soon
Do not assume “at ease” means “chat mode activated.” In many settings, you still remain silent. Wait for “rest,” “fall out,” or a clear instruction that conversation is allowed.
Locking the Knees
Locked knees can make long standing periods uncomfortable. Keep your posture formal, but avoid turning your legs into flagpoles. Small muscle engagement and balanced weight help you stay steady.
Letting the Hands Wander
Hands behind the back should stay quiet. Scratching, adjusting, and fidgeting make the position look sloppy. Practice placing your hands correctly until it feels automatic.
Overdoing the Posture
Some beginners try so hard to look sharp that they become stiff, tense, and uncomfortable. Good drill posture is controlled, not robotic. Think clean lines, steady balance, and calm focus.
Why Standing at Ease Matters
Standing at ease teaches more than a body position. It builds self-control, attention to detail, respect for commands, and group coordination. In a ceremony, one person fidgeting may seem minor, but a whole formation fidgeting looks messy fast. When everyone performs the same movement the same way, the group appears disciplined and prepared.
It also teaches a useful life skill: how to be still without looking bored, tired, or disconnected. That comes in handy during school assemblies, public ceremonies, interviews, presentations, formal events, and anywhere else you need to look composed while your brain is quietly wondering what is for lunch.
Posture and Comfort Tips for Longer Events
Long ceremonies can test anyone. Even experienced people can get tired if they stand too long in heat, direct sun, tight shoes, or a heavy uniform. Before an event, hydrate appropriately, eat sensibly, wear properly fitted footwear, and practice the expected sequence. During the event, breathe normally and keep your body balanced.
Do not ignore serious discomfort. If you feel dizzy, faint, unusually weak, or unwell, follow your organization’s safety procedure and notify the appropriate person as soon as possible. Discipline matters, but safety is not optional. Passing out dramatically is not a bonus performance category.
Practice Drill: A Simple 5-Minute Routine
Minute 1: Attention Setup
Practice moving into attention. Check your feet, hands, shoulders, head, and eyes. Make the starting position clean.
Minute 2: Move to Stand at Ease
On a practice command, move into your organization’s stand-at-ease position. Focus on keeping the right foot anchored and placing the hands correctly.
Minute 3: Hold the Position
Hold the posture silently. Notice whether you are leaning, locking your knees, or fidgeting. Reset without making large movements.
Minute 4: Return to Attention
Practice returning to attention smoothly. Your goal is clean movement, not maximum noise.
Minute 5: Repeat with a Partner
Have a friend or instructor watch for small errors. Feedback is useful because you cannot always feel what your posture looks like.
Real Experiences: What Standing at Ease Feels Like in Practice
The first time many people learn how to stand at ease, they discover that “easy” is a suspiciously optimistic word. At attention, the rules are strict: stand tall, stay still, look forward. At ease sounds softer, but it requires a different kind of discipline. You are allowed to relax slightly, yet you still have to look sharp. That balance takes practice.
One common experience is foot confusion. Beginners often want to move both feet because the body naturally tries to rebalance itself. The right foot rule feels strange at first, especially if you are used to casual standing. After several repetitions, though, the movement becomes automatic. The right foot stays planted, the left foot moves, the hands go behind the back, and suddenly the posture feels less like a puzzle and more like a routine.
Another real challenge is stillness. When you are told not to move, every tiny itch becomes a breaking-news emergency. Your nose itches. Your sleeve feels weird. A breeze touches one hair on your forehead, and your brain treats it like a national incident. This is where mental discipline helps. Instead of focusing on every small sensation, focus on breathing, balance, and listening. The less attention you give to minor distractions, the easier the position becomes.
Standing at ease during a long ceremony also teaches practical body awareness. You learn whether your shoes fit well, whether you are locking your knees, and whether your shoulders are carrying tension. You learn to stand tall without squeezing every muscle in your body. The best performers usually do not look strained. They look calm. Their posture is organized, their breathing is normal, and their movements are efficient.
In group practice, standing at ease can also build trust. Everyone has to follow the same command at the same time. If one person moves late, talks, or fidgets, it affects the overall image. But when the whole group moves together, the result feels surprisingly satisfying. It is like watching a row of doors close perfectly at once. Simple, clean, and oddly impressive.
The biggest lesson is that standing at ease is not about pretending to be uncomfortable. It is about controlled readiness. You are resting enough to remain steady, but disciplined enough to respond instantly. Once that idea clicks, the position becomes much easier. You stop thinking, “Where do my hands go?” and start thinking, “I am ready for the next command.” That is the point.
Conclusion
Knowing how to stand at ease is a small skill with a big impact. It helps you look professional, stay organized in formation, and show respect during ceremonies or training. The basics are straightforward: begin from attention, listen for the command, keep your right foot in place, move into the correct rest position, control your hands, maintain good posture, stay silent unless told otherwise, and be ready to return to attention.
The secret is practice. Not dramatic practice. Not mirror-selfie practice. Just steady, repeated, detail-focused practice. Once the movement becomes automatic, standing at ease feels natural, confident, and sharp.
Note: This guide explains general unarmed drill posture for educational purposes. Always follow the exact drill manual, instructor guidance, school policy, or unit standard that applies to your organization.