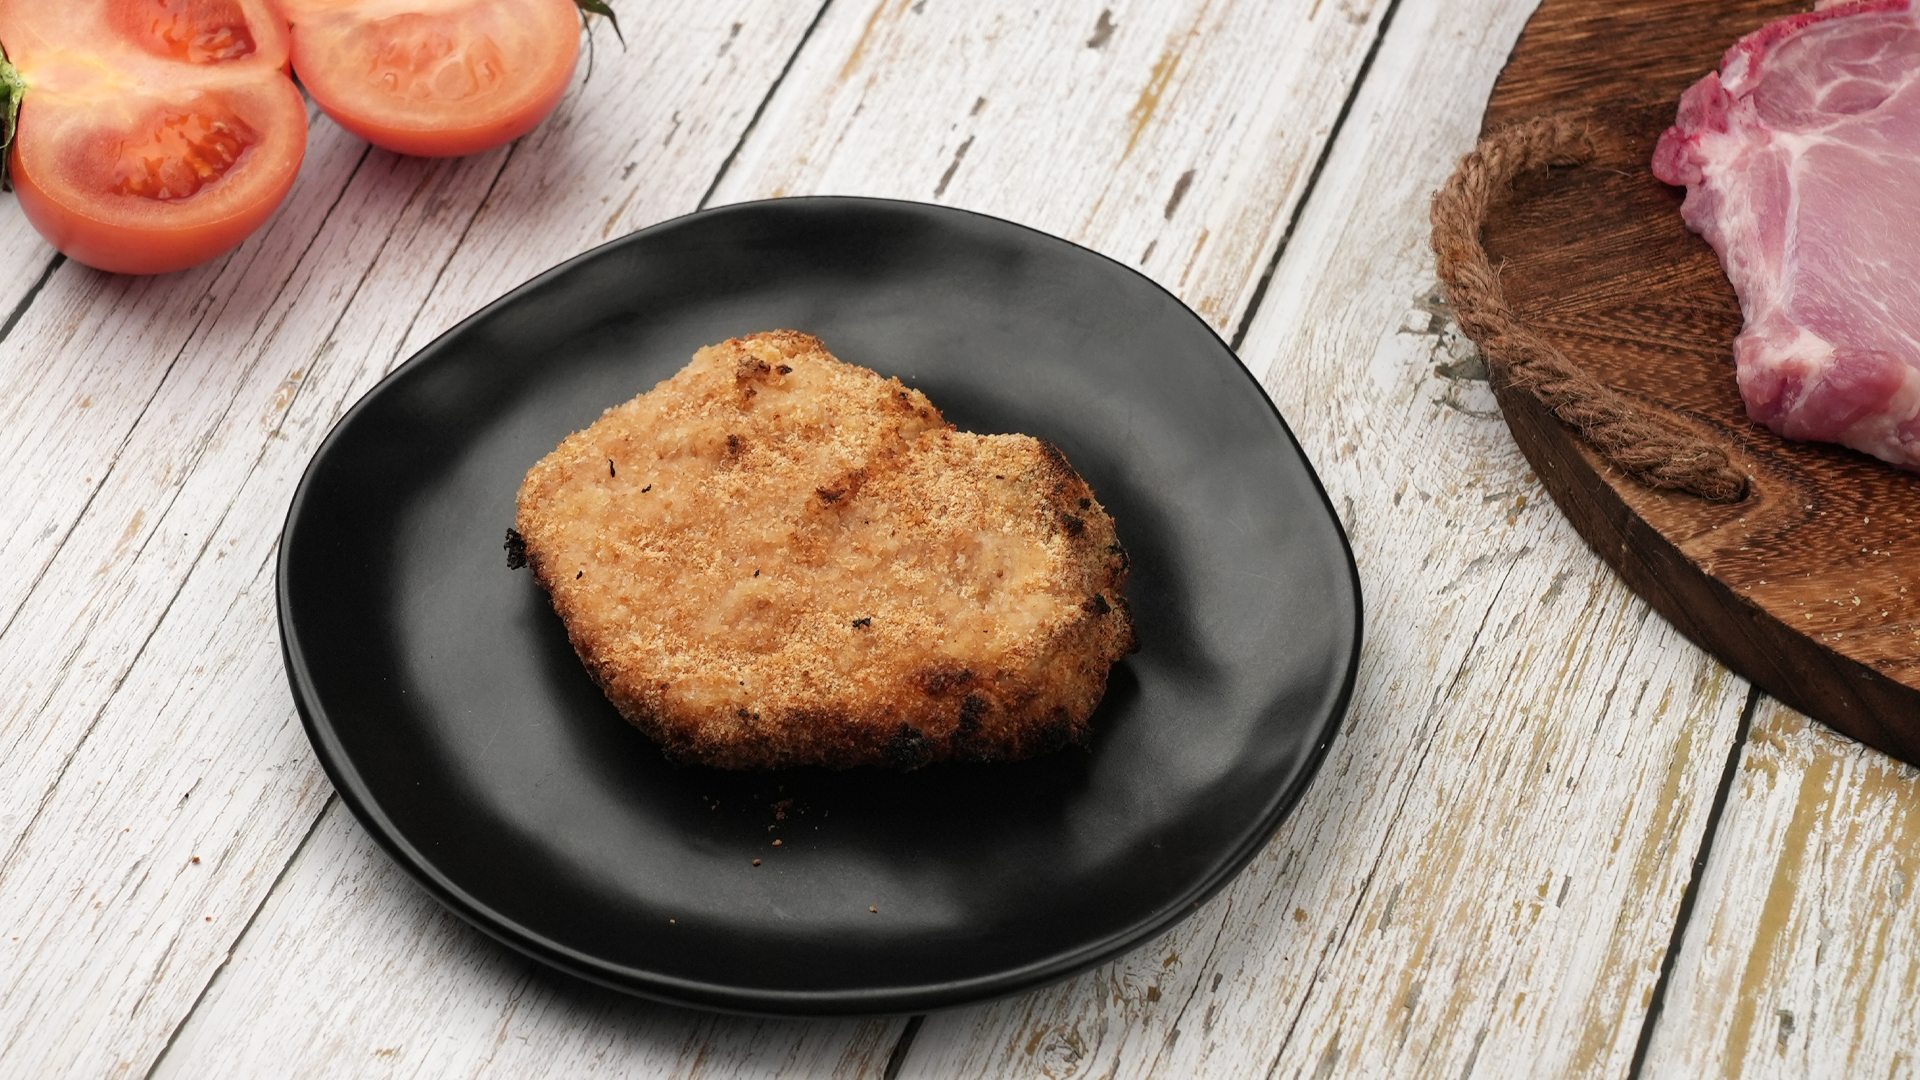
Learning how to cook pork chops in the oven is one of those kitchen skills that sounds simple until dinner is on the line, the family is hungry, and the pork chops look at you like they know something you do not. The good news? Oven-baked pork chops are not difficult. The better news? You do not need a culinary degree, a smoker the size of a pickup truck, or a secret handshake from a barbecue society.
The real secret is control. Pork chops are lean, which means they cook quickly and can turn dry if ignored. But when you season them well, use the right oven temperature, check the internal temperature, and let them rest, you get juicy pork chops with golden edges, savory flavor, and that “yes, I absolutely meant to make them this good” confidence.
This guide walks you through 15 clear steps for cooking pork chops in the oven, whether you are using boneless pork chops, bone-in pork chops, thick-cut chops, or simple supermarket favorites. You will also learn how long to bake pork chops, what temperature to use, how to avoid dryness, and how to build flavor with simple pantry ingredients.
Why Oven-Baked Pork Chops Are Worth Mastering
Oven-baked pork chops are weeknight heroes. They cook faster than a roast, feel more special than plain chicken, and pair with almost anything: mashed potatoes, roasted vegetables, rice, salad, applesauce, gravy, or that lonely bag of green beans sitting in the freezer waiting for its big break.
The oven also gives you consistency. A hot skillet can create a beautiful sear, but the oven finishes the pork chops with even heat. This is especially useful for thick pork chops because the outside can brown while the inside gently reaches the proper temperature.
Best Pork Chops for Baking
For the juiciest results, choose pork chops that are about 1 inch thick. Thin pork chops can still be baked, but they cook so fast that one extra phone notification can send them from tender to “why is this pork wearing a leather jacket?”
Bone-In vs. Boneless Pork Chops
Bone-in pork chops usually have slightly better flavor and moisture because the bone helps slow the cooking process. Boneless pork chops are convenient, easy to slice, and great for fast dinners. Both work well in the oven as long as you use a meat thermometer and avoid overcooking.
Recommended Internal Temperature
Fresh pork chops should be cooked to an internal temperature of 145°F, followed by a short rest. A little pink in the center can be perfectly normal when the meat has reached the correct temperature. Color is not the boss here. Your thermometer is.
Ingredients for Juicy Oven-Baked Pork Chops
This simple seasoning blend works with most pork chop styles. It is savory, slightly smoky, and flexible enough to pair with classic sides.
- 4 pork chops, about 1 inch thick
- 2 tablespoons olive oil
- 1 teaspoon kosher salt
- 1 teaspoon black pepper
- 1 teaspoon smoked paprika
- 1 teaspoon garlic powder
- 1 teaspoon onion powder
- 1/2 teaspoon dried thyme or Italian seasoning
- 1 tablespoon brown sugar, optional for light caramelization
- 1 tablespoon butter, optional for finishing
How to Cook Pork Chops in the Oven: 15 Steps
Step 1: Choose Pork Chops of Similar Thickness
Start with pork chops that are close in size and thickness. If one chop is thin and another is thick, they will not finish cooking at the same time. For best results, choose chops around 1 inch thick. Thick-cut pork chops are easier to keep juicy because they give you a wider window between undercooked and overcooked.
Step 2: Pat the Pork Chops Dry
Use paper towels to dry both sides of the pork chops. This step may look boring, but it matters. Moisture on the surface creates steam, and steam is the sworn enemy of browning. Dry pork chops develop better color, better crust, and better flavor.
Step 3: Let Them Sit Briefly at Room Temperature
Let the pork chops rest on the counter for about 15 to 20 minutes before cooking. You do not need to leave them out for ages. The goal is simply to take the refrigerator chill off the meat so it cooks more evenly. Meanwhile, you can preheat the oven, mix the seasoning, and pretend you are hosting a cooking show.
Step 4: Preheat the Oven
Preheat your oven to 400°F or 425°F. A hotter oven helps cook pork chops quickly, which reduces the chance of drying them out. For 1-inch boneless pork chops, 400°F is steady and reliable. For thicker chops or when you want more browning, 425°F works beautifully.
Step 5: Mix the Seasoning
In a small bowl, combine salt, pepper, smoked paprika, garlic powder, onion powder, thyme, and brown sugar if using. The paprika adds color and a gentle smoky flavor, while garlic and onion powder create that classic savory backbone. Brown sugar is optional, but it helps the outside caramelize slightly.
Step 6: Coat the Pork Chops with Oil
Rub the pork chops with olive oil on all sides. The oil helps the seasoning stick and supports browning in the oven. Do not drown the chops; this is dinner, not a spa treatment. A light, even coating is enough.
Step 7: Season Generously
Sprinkle the seasoning mixture over both sides of the pork chops and rub it in gently. Do not forget the edges, especially if the chops have a fat cap. Seasoning only the top is like wearing a tuxedo jacket with pajama pants. Technically possible, but not ideal.
Step 8: Optional Sear Before Baking
For extra flavor, heat an oven-safe skillet over medium-high heat and sear the pork chops for 2 to 3 minutes per side before transferring them to the oven. This step creates a golden crust and deeper flavor. If you are short on time, you can skip the sear and bake the pork chops directly on a sheet pan or in a baking dish.
Step 9: Arrange the Chops Properly
Place the pork chops in a single layer with a little space between each one. Crowding traps steam and prevents browning. If you are cooking a larger batch, use a rimmed baking sheet rather than cramming everything into a small dish like pork chop rush hour.
Step 10: Bake Until Nearly Done
Bake the pork chops until they approach 140°F in the thickest part. Depending on thickness and oven temperature, this may take 12 to 20 minutes for 1-inch chops. Bone-in pork chops may take a little longer than boneless chops. Start checking early because pork chops can finish quickly near the end.
Step 11: Use a Meat Thermometer
A meat thermometer is the best tool for perfect oven pork chops. Insert it into the thickest part of the chop without touching the bone. The safe target is 145°F. Guessing by color alone is unreliable, and cutting into the chop too early lets the juices escape. A thermometer saves dinner and your reputation.
Step 12: Add Butter or Pan Juices
When the pork chops are almost done, you can add a small pat of butter to each chop or spoon pan juices over the top. This adds richness and shine. For extra flavor, mix butter with minced garlic, parsley, or rosemary before adding it.
Step 13: Rest the Pork Chops
Remove the pork chops from the oven and let them rest for at least 3 to 5 minutes. Resting allows juices to redistribute through the meat instead of running onto the cutting board. This is the hardest step because the pork smells amazing, but patience pays rent here.
Step 14: Slice Against the Grain
If serving sliced pork chops, cut against the grain for a more tender bite. Use a sharp knife and slice cleanly. If serving whole chops, spoon any remaining pan juices over the top before plating.
Step 15: Serve Immediately
Serve oven-baked pork chops while warm with your favorite sides. Mashed potatoes, roasted carrots, green beans, baked apples, cornbread, rice pilaf, coleslaw, or a crisp salad all work well. Pork chops are friendly like that. They do not demand fancy company.
How Long to Bake Pork Chops in the Oven
Cooking time depends on thickness, whether the chops are bone-in or boneless, and your oven temperature. Use these times as a helpful starting point, not as a replacement for a thermometer.
| Pork Chop Type | Oven Temperature | Approximate Time | Final Internal Temperature |
|---|---|---|---|
| Boneless, 1 inch thick | 400°F | 15 to 20 minutes | 145°F |
| Bone-in, 1 inch thick | 400°F | 18 to 22 minutes | 145°F |
| Thin pork chops | 400°F | 8 to 12 minutes | 145°F |
| Thick-cut pork chops | 375°F to 400°F | 20 to 30 minutes | 145°F |
Should You Brine Pork Chops Before Baking?
Brining is optional, but it can help pork chops stay juicy. A simple brine is made with water and salt, sometimes with sugar, garlic, herbs, or peppercorns. Soak pork chops for 30 minutes to a few hours, then pat them completely dry before seasoning and baking.
If you are using thick, high-quality, well-marbled pork chops, you may not need a brine. If your chops are lean, boneless, or from a standard grocery pack, a short brine can be a smart move. Think of it as insurance, but tastier and with fewer forms.
Best Seasoning Ideas for Oven Pork Chops
Classic Garlic Herb
Use salt, pepper, garlic powder, onion powder, thyme, and rosemary. Finish with butter and parsley.
Smoky Barbecue Style
Use smoked paprika, brown sugar, chili powder, garlic powder, onion powder, salt, and pepper. Brush with barbecue sauce during the last few minutes of baking.
Apple Mustard Glaze
Whisk Dijon mustard, apple cider vinegar, honey, and a little olive oil. Brush over the pork chops before baking or during the last few minutes in the oven.
Lemon Pepper Pork Chops
Season with lemon zest, black pepper, garlic powder, salt, and a small drizzle of olive oil. Serve with roasted asparagus or a bright salad.
Common Mistakes to Avoid
Overcooking the Pork Chops
This is the biggest mistake. Pork chops are lean, so they become dry when cooked too far past 145°F. Use a thermometer and start checking before you think they are done.
Skipping the Rest
Cutting pork chops immediately after baking causes juices to spill out. Resting is not optional if you want juicy meat. It is the quiet little step doing heroic work.
Using Too Little Seasoning
Pork chops need seasoning. Salt helps bring out flavor, while spices build the crust. Season both sides and the edges.
Baking Ice-Cold Chops
Pork chops straight from the refrigerator may cook unevenly. Letting them sit briefly before baking helps the center cook more predictably.
What to Serve with Oven-Baked Pork Chops
Pork chops are versatile, so side dishes can be cozy, fresh, sweet, or savory. For a classic dinner, serve them with mashed potatoes and green beans. For a lighter meal, pair them with roasted Brussels sprouts and a citrus salad. For a fall-inspired plate, add baked apples, roasted sweet potatoes, or apple slaw.
If you want gravy, use the pan drippings. Add a little butter and flour to the skillet, whisk in chicken broth, and simmer until thickened. Spoon it over the chops and accept compliments with grace.
How to Store and Reheat Leftover Pork Chops
Store leftover pork chops in an airtight container in the refrigerator for 3 to 4 days. To reheat, place them in a covered baking dish with a splash of broth or water and warm in a 300°F oven until heated through. Avoid blasting them in the microwave for too long, unless your goal is pork chop jerky.
of Real Kitchen Experience: What Actually Makes Oven Pork Chops Better
After cooking pork chops many different ways, the biggest lesson is this: pork chops reward attention, not complication. You can make an excellent dinner with salt, pepper, oil, and a hot oven if you pay attention to thickness, temperature, and resting time. You can also ruin expensive pork chops with a fancy marinade if you walk away and let them overcook. The pork chop is humble, but it has boundaries.
The first practical experience is that thickness matters more than most people think. Thin pork chops are tempting because they cook quickly, but they are also easy to dry out. If you are new to baking pork chops, choose chops that are at least 1 inch thick. They give you enough time to build color on the outside while keeping the inside juicy. Very thin chops are better for quick pan-frying or breaded cutlets.
The second lesson is that dry surfaces brown better. Many home cooks take pork chops out of the package, season them while they are still damp, and wonder why they look pale after baking. Patting the meat dry makes a noticeable difference. It helps oil and seasoning cling to the surface and gives the oven a better chance to create a flavorful exterior.
The third lesson is that a thermometer is not just for nervous cooks. It is for smart cooks. Pork chops can look done before they are ready, and they can also stay slightly pink even when they are safely cooked. A thermometer removes the guessing. Once you start using one, you will wonder why you ever trusted vibes and kitchen lighting.
Another useful experience is to season earlier when possible. If you have 30 minutes, salt the pork chops and let them sit uncovered in the refrigerator or at cool room temperature briefly before cooking. This gives the salt time to penetrate the surface and improves flavor. Even 15 minutes helps. If you are in a rush, season and bake immediately; dinner will still survive.
Searing is excellent, but not mandatory. A cast iron skillet gives pork chops a beautiful crust before they go into the oven. However, on busy nights, a sheet pan works fine. To improve sheet-pan pork chops, bake them at a higher temperature and avoid crowding. Add vegetables that cook in a similar time, such as green beans, asparagus, sliced onions, or small broccoli florets. Large potatoes need a head start unless you enjoy crunchy disappointment.
Resting is the final difference between good pork chops and dry pork chops. When the meat comes out of the oven, it is still hot inside. The juices need a few minutes to settle. Cover loosely with foil, not tightly, or the crust may soften too much. Five minutes is usually enough for average chops.
Finally, do not be afraid of simple sauces. A spoonful of pan juices, garlic butter, mustard glaze, apple cider sauce, or even a squeeze of lemon can make baked pork chops taste restaurant-worthy. The oven does the cooking, but the finishing touch makes the plate memorable.
Conclusion
Cooking pork chops in the oven is all about balance: enough heat to brown the outside, enough attention to avoid overcooking, and enough resting time to keep the meat juicy. Start with evenly sized chops, season them generously, bake until they reach 145°F, and let them rest before serving. Once you understand those basics, you can change the flavor profile any way you like, from garlic herb to smoky barbecue to apple mustard glaze.
The next time pork chops are on the menu, do not treat them like a mystery. Treat them like a fast, flavorful dinner waiting for a little technique. With these 15 steps, your oven-baked pork chops can come out tender, juicy, and ready for their close-up.
Note: Always use a clean meat thermometer to confirm doneness. Cooking time can vary depending on pork chop thickness, oven accuracy, pan type, and whether the chops are bone-in or boneless.