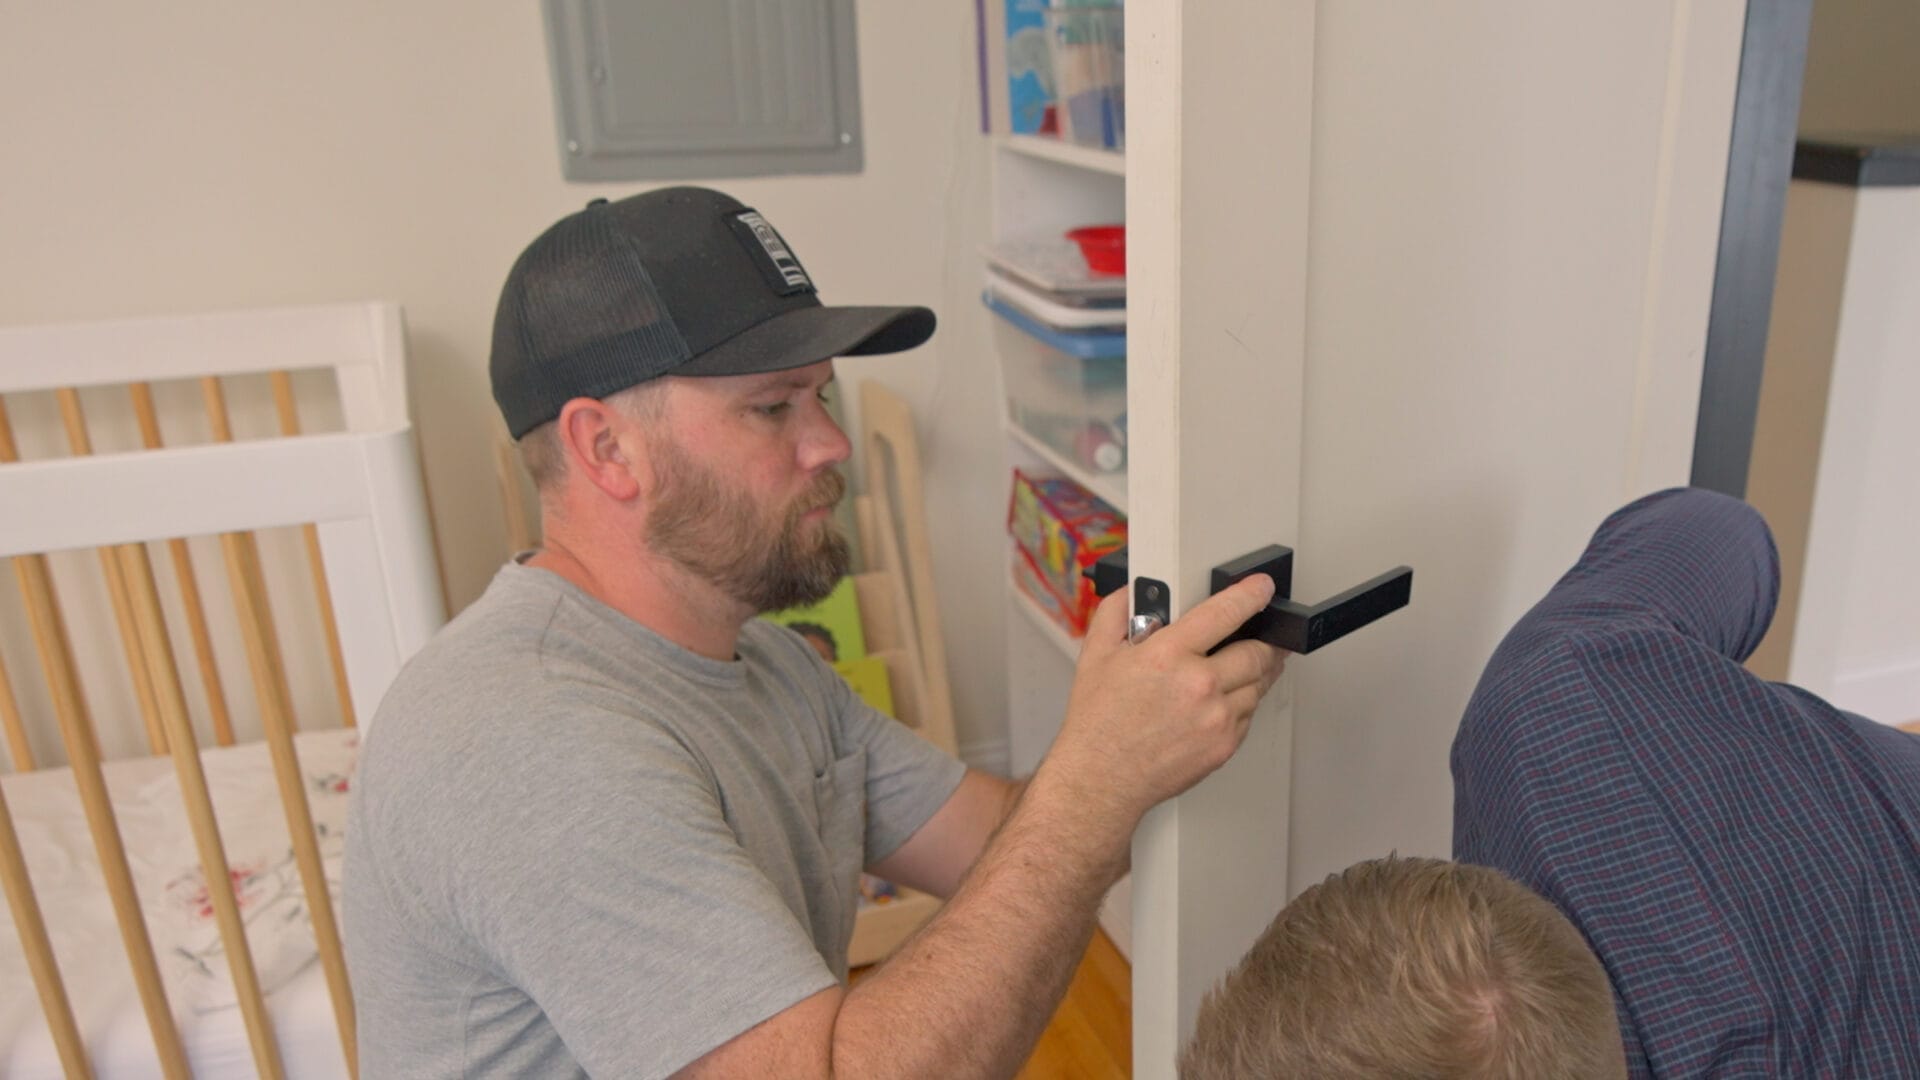
Installing solid core doors is one of those home upgrades that looks simple until the door reminds you it has been eating protein powder. Unlike hollow core doors, solid core doors are heavier, denser, quieter, and more durable. They can make a bedroom feel more private, a home office sound less like the kitchen, and a hallway look instantly more polished. But that extra quality comes with one important rule: installation needs to be accurate.
The good news? You do not need to be a master carpenter to install a solid core interior door. You do, however, need patience, careful measurements, the right hardware, and maybe a helpful friend who does not disappear the moment lifting begins. This guide explains how to install solid core doors step by step, whether you are replacing a slab door in an existing frame or installing a prehung solid core door with a new jamb.
What Is a Solid Core Door?
A solid core door is an interior door built with a dense inner core, usually made from engineered wood, MDF, particleboard, or a similar composite material, often covered with a veneer or molded surface. It is not always solid wood from edge to edge, but it feels substantial and performs much better than a lightweight hollow core door.
Homeowners often choose solid core interior doors for bedrooms, bathrooms, laundry rooms, media rooms, and home offices because they help reduce sound transfer. They also feel sturdier when opened and closed. You know that satisfying, quiet “thunk” instead of the hollow “bonk” of a lightweight door? That is the solid core difference.
Prehung vs. Slab Solid Core Doors
Before learning how to install solid core doors, decide which type you are working with: a prehung door or a slab door.
Prehung Solid Core Door
A prehung door comes already attached to its frame. The hinges are installed, the door is aligned within the jamb, and the unit is ready to fit into a rough opening. This is usually the best choice if your existing frame is damaged, badly out of square, or being removed during a renovation.
Prehung doors are convenient, but they are also bulky and heavy. A solid core prehung unit is much easier with two people. One person can technically do it, just as one person can technically move a couch upstairs, but your back may write an angry review.
Solid Core Slab Door
A slab door is only the door itself. It does not include the frame, hinges, or hardware. A slab is the right choice if your existing door frame is straight, square, and in good condition. You will need to transfer hinge locations, bore the lockset hole if it is not predrilled, and trim the slab if needed.
Slab installation requires more precision than a prehung door because the fit depends on your measurements, hinge mortises, and hardware placement. The reward is that you can upgrade the door without removing the entire jamb and trim.
Tools and Materials You Will Need
Gather everything before you start. Door installation is not the moment to discover your drill battery is dead or your only pencil has joined the missing-sock universe.
Basic Tools
- Tape measure
- Level
- Hammer
- Screwdriver or drill/driver
- Utility knife
- Wood shims
- Pencil
- Combination square or speed square
- Sawhorses or a stable work surface
- Safety glasses and gloves
For Slab Door Installation
- Hinges rated for solid core doors
- Self-centering drill bit
- Wood chisel or router with hinge template
- Hole saw kit for lockset boring
- Door lockset or knob set
- Wood plane or circular saw if trimming is needed
For Prehung Door Installation
- Prehung solid core door unit
- Finish nails or trim screws
- Long screws for hinge reinforcement
- Pry bar
- Putty knife
- Caulk and paintable filler
- Interior casing or reused trim
Step 1: Measure the Existing Door and Opening
Start by measuring the current door width, height, and thickness. Most interior doors are 1 3/8 inches thick, but always verify. Standard interior door heights are often 80 inches, while common widths include 24, 28, 30, 32, and 36 inches.
If you are replacing a slab, measure the old door carefully. If it fits well, use it as your template. Measure the hinge locations from the top of the door, not from the floor, because flooring height can vary from room to room.
If you are installing a prehung solid core door, measure the rough opening. The rough opening should be larger than the door unit so you have room to shim and adjust the frame. Also measure the wall thickness so the jamb matches your wall assembly.
Step 2: Decide the Door Swing
Door swing matters more than many beginners expect. Stand on the side where the door swings toward you. If the hinges are on the left, it is a left-hand door. If the hinges are on the right, it is a right-hand door.
For bedrooms and bathrooms, doors typically swing into the room. The goal is to keep traffic clear and avoid placing the open door in the most awkward possible spot, such as directly in front of a closet, light switch, or your favorite laundry pile.
Step 3: Remove the Old Door
For a slab replacement, close the old door and remove the hinge pins. Tap the pins upward with a hammer and nail set or punch. Once the pins are out, carefully lift the door away from the frame. Solid core doors are heavy, so use a second person if needed.
Remove the hinges and lockset from the old door if you plan to reuse them. If the hardware is worn, loose, or undersized, replace it. A heavier door deserves hardware that can hold its weight without sagging over time.
For a prehung installation, remove the old door, casing, jambs, and any remaining fasteners. Use a putty knife to break paint lines around the trim, then gently pry the casing away. If you want to reuse the trim, work slowly. Trim is surprisingly dramatic and likes to split when rushed.
How to Install a Solid Core Slab Door
Step 4: Use the Old Door as a Template
Lay the new solid core slab on sawhorses. Place the old door on top of it, aligning the top edge and hinge edge. Trace the hinge locations, lockset hole, and latch location onto the new door. Double-check that the top and hinge edges are perfectly flush before marking.
If the new slab needs trimming, mark the cut line clearly. Trim conservatively. You can always remove a little more, but you cannot put the door shavings back on. Leave even gaps around the door, generally about 1/8 inch at the top and sides, with enough clearance at the bottom for flooring and airflow.
Step 5: Cut the Hinge Mortises
Hinge mortises are shallow recesses that allow hinges to sit flush with the edge of the door. If the hinges sit too proud, the door may bind. If they sit too deep, the door may have an uneven reveal or fail to close cleanly.
You can cut mortises with a sharp chisel or a router and hinge template. A router is faster, but a chisel works well if you take your time. Score the outline with a utility knife first, then remove thin layers of material until the hinge leaf sits flush.
Most solid core doors should have three hinges. Tall or unusually heavy doors may require additional support. Use strong screws and consider replacing at least one screw in the top hinge with a longer screw that reaches into the framing behind the jamb.
Step 6: Bore the Lockset and Latch Holes
If your slab is not predrilled, use a lockset boring kit. Mark the backset according to your hardware, usually 2 3/8 inches or 2 3/4 inches from the door edge. Drill the large face hole halfway through from one side, then finish from the other side to prevent splintering. Drill the latch hole through the edge of the door into the face hole.
Dry-fit the latch and mark its faceplate. Chisel or route a shallow mortise so the latch plate sits flush with the edge. Flush hardware is not just prettier; it helps the door close without rubbing.
Step 7: Hang the Slab Door
Attach the hinges to the door with pilot holes and screws. Then lift the door into position and align the hinge leaves with the jamb hinges. Insert the hinge pins, starting with the top or bottom pin to hold the door while you align the remaining hinges.
Open and close the door several times. Watch the reveal, which is the gap between the door and the frame. The reveal should be even. If the door rubs at the top, hinge side, or latch side, adjust the hinge screws, plane a small amount from the edge, or add thin hinge shims where needed.
How to Install a Prehung Solid Core Door
Step 8: Prepare the Rough Opening
Clean the rough opening and remove old nails, screws, drywall lumps, or proud framing. Check the studs for plumb and the floor for level. If the opening is badly out of square, correct the issue before installing the door. A door frame is not a magic wand; it will not fix a crooked opening by positive thinking.
Set the prehung door into the opening and confirm that it fits. Make sure the swing direction is correct and that the jamb is flush with the finished wall surface.
Step 9: Shim the Hinge Side
With the door centered in the rough opening, place shims behind each hinge location. Use pairs of opposing tapered shims so the jamb stays flat instead of twisting. Check the hinge jamb with a level in both directions: front to back and side to side.
Once the hinge side is plumb, fasten through the jamb and shims into the framing. For a solid core door, long screws at the top hinge are a smart upgrade because they help carry the door’s weight and reduce future sagging.
Step 10: Shim the Latch Side and Head Jamb
Close the door and inspect the reveal around the top and latch side. Add shims at the latch area and near the top and bottom until the gap is even. The latch side should not bow inward or outward. If the reveal is too tight in one area, adjust the shims before driving fasteners fully.
Fasten the latch-side jamb through the shims. Then shim and secure the head jamb if needed. Continue testing the door as you go. The door should swing freely, stay open at different positions, and latch without needing a shoulder check worthy of a hockey rink.
Step 11: Install the Lockset and Strike Plate
Install the latch, knobs, rosettes, and strike plate according to the hardware instructions. Do not overtighten the knob screws, as that can make the latch bind. Close the door and check whether the latch lines up with the strike plate. If it does not, adjust the strike plate location or lightly file the opening.
Step 12: Trim Shims, Install Casing, and Finish
Once the door opens and closes properly, score the exposed shims with a utility knife and snap them flush with the wall. Reinstall the old casing or cut new trim. Nail the casing to the jamb and wall framing, then fill nail holes with wood filler or spackling.
Paint or stain the door according to the manufacturer’s recommendations. Seal all six sides of the door: front, back, top, bottom, hinge edge, and latch edge. This is especially important for wood and composite doors because unsealed edges can absorb moisture and affect the fit over time.
Common Mistakes to Avoid
Skipping the Helper
Solid core doors are heavy. Trying to lift, align, and pin one by yourself can damage the door, the frame, or your mood. A helper makes the job safer and cleaner.
Using Weak Hinges
Do not reuse flimsy hinges from a lightweight hollow core door unless they are suitable for the new door’s weight. Solid core doors need proper support.
Ignoring the Reveal
The reveal tells you whether the door is aligned. If the gap looks uneven, something is off. Fix it before installing trim, because trim has a talent for hiding problems until they become annoying.
Cutting Too Much at Once
Trim small amounts and test fit often. Removing too much from a solid core slab can ruin the fit and may expose internal material in a way that is difficult to finish cleanly.
Forgetting to Seal the Door
Paint or seal all edges, especially the top and bottom. These areas are easy to ignore because you rarely see them, but moisture certainly knows where they are.
When Should You Call a Professional?
Call a professional if the opening is badly out of square, the wall needs structural changes, the door is oversized, or you are installing fire-rated doors where code compliance matters. You may also want help if you are replacing several doors at once. Hanging one slab door is a weekend project; hanging twelve can become a home improvement marathon with sawdust snacks.
Real-World Experience Notes: What Installing Solid Core Doors Teaches You
After installing solid core doors, most homeowners learn the same lesson quickly: the door itself is not the hard part; the alignment is. A solid core door gives you very little forgiveness. A hollow core door may tolerate a slightly imperfect hinge or a tiny frame issue. A heavier solid core slab will announce every mistake with rubbing, sagging, squeaking, or a latch that refuses to behave.
One practical experience is to test the existing frame before buying a slab. Many people assume the old frame is fine because the old door closed. But a lightweight door can hide a jamb that is slightly twisted or out of plumb. Once a heavier door is installed, that tiny problem becomes obvious. Before purchasing, place a long level on the hinge jamb, latch jamb, and head jamb. Measure diagonally if you suspect the frame is out of square. This five-minute check can save hours of frustration.
Another lesson is that hinge screws matter more than they appear to. Short screws may hold at first, but a solid core door puts more stress on the top hinge over time. Replacing one or two hinge screws with longer screws that bite into the wall framing can dramatically improve stability. It is a small upgrade with a big payoff, especially for bedroom and office doors that get opened and closed all day.
Working slowly during mortising is also worth it. A hinge mortise that is too shallow pushes the door toward the latch side. A mortise that is too deep pulls the door toward the hinge side. Either mistake changes the reveal. If you are using a chisel, make several shallow passes instead of trying to remove the full depth in one heroic swing. Your future self, and your door, will be grateful.
For prehung solid core doors, the best experience-based advice is to avoid fully fastening the jamb too early. Tack it lightly, test the swing, adjust the shims, test again, and only then drive fasteners securely. Many installation problems happen because the frame is locked into place before the reveal is checked. A prehung door can look perfect while open and still bind when closed.
It also helps to think about sound control as a system. A solid core door improves privacy, but gaps around the door can still leak noise. For offices, nurseries, or laundry rooms, consider adding quality weatherstripping or a door sweep if appropriate for the room. Even a small gap under the door can let sound travel like it has a backstage pass.
Finally, finishing is not just cosmetic. Paint protects the door and helps keep moisture movement under control. Many DIYers paint the faces and forget the top and bottom edges. That shortcut may not cause trouble immediately, but over time it can contribute to swelling or sticking, especially in bathrooms, laundry rooms, and humid climates. A properly sealed solid core door looks better, lasts longer, and behaves more politely.
Conclusion
Learning how to install solid core doors is a practical way to upgrade your home’s comfort, privacy, and style. The process requires careful measuring, proper hinge support, accurate shimming, and patient adjustments, but it is absolutely manageable for a prepared DIYer. Choose a slab door if your existing frame is in excellent shape. Choose a prehung door if the frame needs replacement or you want a more complete reset.
The secret is not speed. The secret is precision. Measure twice, shim carefully, check the reveal often, and use hardware strong enough for the door’s weight. Do that, and your new solid core door will close smoothly, reduce noise, and make the whole room feel more finished. Not bad for a rectangle with hinges.
Note: Always follow the door manufacturer’s instructions and local building requirements, especially for fire-rated doors, garage-entry doors, or any installation involving structural changes.