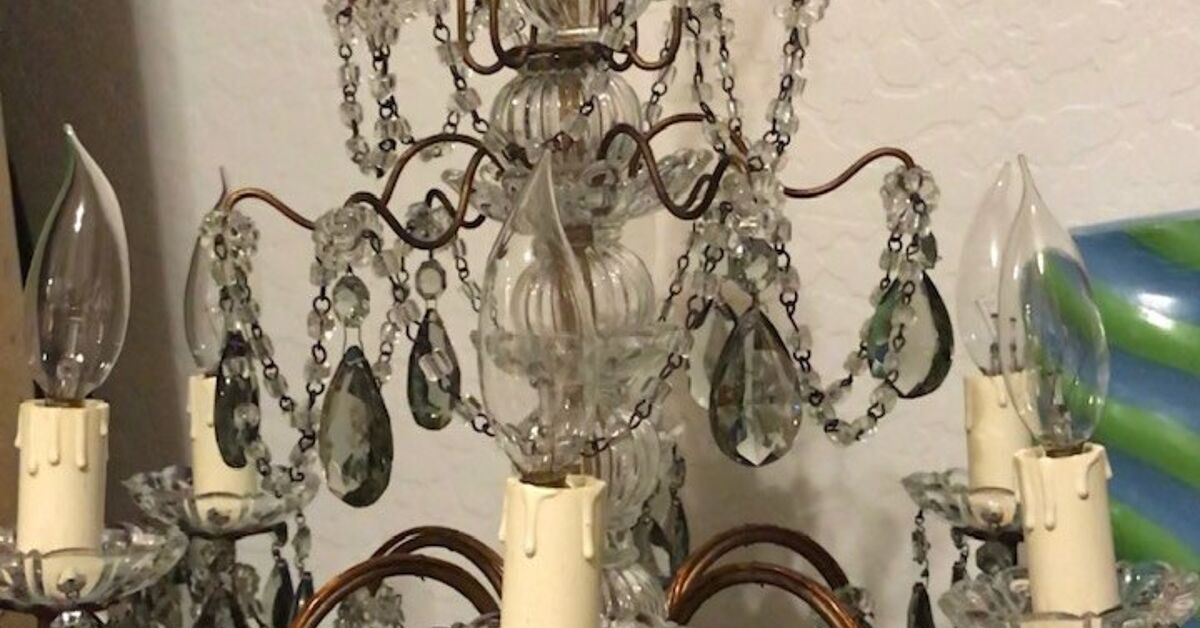
A recessed light is tidy, practical, and about as emotionally expressive as a ceiling ve room, bedroom, entryway, or kitchen nook an instant focal point. Fortunately, replacing recessed lighting with a chandelier may be possible without opening half the ceilingbut only when the existing housing and conversion hardware can safely support the new fixture.
This guide explains how to convert a recessed light into a chandelier, how to choose the correct installation method, what tools you may need, and when the project should be handed to a licensed electrician. The decorative part is fun. The structural and electrical parts deserve your full attention.
Can You Replace a Recessed Light With a Chandelier?
Yes, but there are three very different ways to do it:
- Use a screw-in pendant adapter. This is generally intended for lightweight pendant lights. It screws into the existing bulb socket and covers the recessed opening with a canopy.
- Install a structural recessed-light conversion kit. This type includes a support bar or mounting assembly designed to attach inside a compatible recessed can. Some listed products can support light fixtures weighing up to 50 pounds, but the exact rating depends on the manufacturer and the existing housing.
- Remove the recessed housing and install a ceiling electrical box attached to framing. This is the most appropriate route for a heavy chandelier, an incompatible recessed can, damaged wiring, or a remodel housing supported only by drywall.
The first method is quick, but it is not automatically suitable for a full-size chandelier. A decorative fixture may look light while still weighing enough to turn an inadequate adapter into a very expensive ceiling ornament delivery system.
Safety Comes Before Sparkle
Electrical work can cause shock, fire, property damage, or injury when performed incorrectly. Turning off the wall switch is not enough. The circuit must be switched off at the breaker or fuse panel, and the conductors must be tested before they are touched.
Do not continue with a DIY installation when you find aluminum wiring, damaged insulation, overheated connectors, an ungrounded system you do not understand, multiple unidentified circuits, unusual conductor colors, or a recessed housing that is loose in the ceiling. Local electrical codes may also require a permit or licensed electrician for certain modifications.
A chandelier must be supported by a listed mounting system rated for the fixture’s actual weight. Drywall, trim rings, spring clips, and ordinary bulb sockets are not structural supports.
Determine What Kind of Recessed Housing You Have
Before buying a chandelier conversion kit, identify the existing recessed light. Most traditional can lights fall into one of two categories.
New-Construction Recessed Housing
A new-construction can is normally fastened to ceiling joists or framing with hanger bars. Because it has structural support, it may be compatible with a listed chandelier conversion kit. Compatibility still depends on the can’s size, shape, condition, and manufacturer requirements.
Remodel Recessed Housing
A remodel can, sometimes called an old-work housing, is often held against the ceiling by clips that grip the drywall or plaster. That support may be adequate for the recessed light itself but not for a hanging chandelier. Some structural converter manufacturers specifically prohibit using their products with remodel housings.
Canless LED Downlight
A canless wafer light does not contain a traditional metal housing or medium-base bulb socket. Removing it usually reveals a cable connected to a small junction box above the ceiling. A screw-in conversion kit will not work. You will generally need a properly supported ceiling box or another mounting system permitted by the fixture instructions and local code.
When the housing type cannot be identified from below, inspect it from the attic if safe access is available. Otherwise, ask an electrician to confirm how it is supported.
Tools and Materials
The exact list depends on the installation method, but a typical recessed lighting conversion project may require:
- A chandelier rated for the intended location
- A listed recessed-light conversion kit compatible with the existing can
- A sturdy ladder
- A non-contact voltage tester and an appropriate contact tester
- Screwdrivers
- Wire strippers
- Listed wire connectors in the correct size
- Electrical tape, when required by the fixture instructions
- Needle-nose pliers
- A tape measure
- Safety glasses
- A helper for supporting the chandelier
- LED bulbs compatible with the fixture and dimmer
Do not improvise structural hardware. Random screws from the legendary coffee can in the garage are not a substitute for the hardware supplied or specified by the manufacturer.
Choose the Right Chandelier Size and Height
Measure before ordering the fixture. A chandelier that looked elegant in a product photo can become a glittering weather system once installed in a modest dining room.
Over a Dining Table
A common starting point is to hang the bottom of the chandelier approximately 30 to 36 inches above the tabletop when the room has an 8-foot ceiling. With taller ceilings, the fixture may be raised slightly while preserving comfortable sightlines and useful illumination.
The chandelier should generally be narrower than the table. Many designers choose a fixture approximately one-half to two-thirds of the table’s width, although shape, room proportions, and personal preference also matter.
In an Open Walkway
Maintain enough headroom for people to walk safely beneath the fixture. A clearance of about 7 feet from the floor is a common planning target in open areas, but local requirements and household needs take priority.
Check the Weight
Find the chandelier’s assembled weight, including shades, crystals, bulbs, chain, and decorative components. Compare that number with both the conversion kit’s maximum rating and the support limit of the recessed housing. The lowest rating controls.
How to Replace Recessed Lighting With a Chandelier
Step 1: Turn Off the Circuit
Switch on the existing recessed light, then turn off the corresponding breaker. The light should go out. Place a note or breaker lock at the panel so nobody restores power while you are working.
Remove the bulb and trim only after the fixture has cooled. Test the socket and accessible conductors with suitable testing equipment. Be aware that a ceiling box can contain wiring from more than one circuit, especially in older or remodeled homes.
Step 2: Remove the Recessed Trim
Most trim rings are held by coil springs, torsion springs, or friction clips. Pull the trim down gently, locate the retaining mechanism, and release it without damaging the ceiling.
If the trim has been painted in place, score around its edge with a utility knife before pulling. Otherwise, a simple lighting project can unexpectedly become a drywall-repair project with bonus vocabulary.
Step 3: Inspect the Housing
Check the diameter, bulb-base type, condition, and support method of the recessed can. Confirm that it matches the conversion kit’s instructions. Many kits are designed for traditional 4-inch, 5-inch, or 6-inch cans with a medium-base socket, but compatibility varies.
Stop if the can moves excessively, the metal is bent, the socket is cracked, or the housing appears to be supported only by ceiling clips when the converter requires a joist-mounted new-construction can.
Step 4: Install the Conversion Kit
Follow the converter manufacturer’s instructions exactly. A structural kit commonly includes an adjustable support bar, mounting plate, socket adapter, canopy or ceiling medallion, and mounting hardware.
Depending on the design, the support bar may expand inside the can and engage specified portions of the housing. Tighten all fasteners to the manufacturer’s requirements. The assembly should remain centered, rigid, and unable to rotate or pull loose.
Some conversion kits obtain electrical power through an adapter that screws into the existing lamp socket. Others require access to the branch-circuit wiring. Never combine parts from unrelated kits or modify a listed assembly to make it fit.
Step 5: Assemble the Chandelier
Complete as much assembly as practical on a padded floor. Install arms, stems, loops, and nonfragile components, but consider leaving heavy glass shades or crystals off until the fixture is secured overhead.
Adjust the chain or downrod to the approximate hanging height. Feed the fixture wires through the chain, stem, canopy, and mounting hardware according to the chandelier instructions. Avoid twisting, pinching, or scraping the insulation.
Step 6: Attach the Mounting Bracket
Fasten the chandelier’s mounting strap or bracket to the threaded mounting points provided by the conversion kit. Do not attach the bracket to the ceiling medallion or drywall.
For a heavy or awkward chandelier, use a temporary support hook or have a helper hold the fixture. Wiring while balancing a chandelier on one shoulder is not a recognized trade technique.
Step 7: Connect the Wiring
Follow the diagrams supplied with both the chandelier and conversion kit. In a typical modern North American installation, black is commonly the switched hot conductor, white is neutral, and bare copper or green is equipment ground. However, colors can be repurposed, incorrectly installed, faded, or different in older systems. Never rely on color alone when the wiring is uncertain.
Connect the fixture grounding conductor as directed, typically to the house grounding conductor and the green grounding screw on the mounting assembly. Connect neutral to neutral and the fixture’s hot conductor to the switched hot supply. Some chandelier cords use a ribbed conductor for neutral and a smooth conductor for hot instead of black and white insulation.
Use listed connectors sized for the number and gauge of conductors. Tug each connection gently to confirm it is secure. Arrange the wires inside the approved enclosure without pinching them beneath the canopy.
Step 8: Secure the Canopy
Lift the canopy over the mounting hardware and tighten the decorative nuts or screws evenly. The canopy should sit flat against the ceiling or medallion without crushing wires.
A decorative medallion can conceal the original recessed opening, chipped paint, or a slightly oversized ceiling cutout. Paint it before installation unless you enjoy edging around chandelier hardware while standing on a ladder.
Step 9: Finish the Assembly
Install the shades, crystals, candle sleeves, and other decorative pieces. Insert bulbs that do not exceed the fixture’s maximum wattage. LED bulbs are usually a practical choice because they provide useful brightness with lower power consumption and less heat than comparable incandescent bulbs.
For warm dining-room light, bulbs around 2700K to 3000K are a common choice. Select brightness by lumens rather than assuming that higher wattage always means better illumination.
Step 10: Restore Power and Test
Clear the ladder and tools, restore power at the breaker, and operate the wall switch. Watch for flickering, buzzing, delayed starts, unusual odors, excessive heat, or a breaker that trips.
If the fixture does not work, turn the breaker off again before inspecting anything. Do not repeatedly reset a breaker that continues to trip. That is a warning, not a challenge issued by the electrical panel.
Common Problems and Solutions
The Chandelier Canopy Does Not Cover the Opening
Use the listed medallion supplied with the conversion system or choose a compatible decorative ceiling medallion large enough to cover the opening. Confirm that it does not interfere with the mounting hardware or ventilation requirements.
The Recessed Can Moves
Do not mount the chandelier. The housing may be a remodel can or may have damaged supports. A properly supported ceiling box attached to framing will likely be needed.
The Chandelier Hangs Crooked
Check that the mounting plate is level, the chain is not twisted, the canopy is centered, and decorative arms are evenly positioned. Some chandeliers settle after hanging for a day, especially when chain links were twisted during installation.
The Light Flickers on a Dimmer
Confirm that the chandelier is dimmable, the LED bulbs are dimmable, and the dimmer is approved for that bulb type and electrical load. Mixing incompatible LEDs and older incandescent dimmers is a common cause of flickering, buzzing, and poor low-level performance.
There Is No Ground Wire
Older wiring systems may use grounded metal raceways or may lack a modern equipment-grounding conductor. Do not guess. Have a qualified electrician evaluate the circuit and determine a code-compliant solution.
The Ceiling Has a Canless LED
A screw-in converter will not fit because there is no traditional lamp socket or structural can. The light’s small junction box is not automatically rated to support a chandelier. The project may require removing the wafer light, installing a support box between joists, and repairing the ceiling opening.
When to Hire a Licensed Electrician
Professional installation is the sensible choice when:
- The chandelier exceeds the converter’s weight rating.
- The existing recessed housing is a remodel can.
- The can is loose, corroded, damaged, or inaccessible.
- The fixture location must be moved or centered over a table.
- The home has aluminum wiring or very old cloth-covered wiring.
- The ceiling contains multiple unidentified circuits.
- A new support box must be installed between joists.
- The chandelier is being installed on a high, vaulted, or steeply sloped ceiling.
- Local rules require a permit or licensed electrical work.
- You cannot verify that the circuit is de-energized.
Hiring an electrician is not admitting defeat. It is choosing not to conduct an electrical apprenticeship from the top step of a ladder.
Practical Experiences and Lessons From Recessed-Light Conversions
The installation instructions often make this project look like a smooth sequence: remove bulb, install adapter, add chandelier, admire transformation. Real houses occasionally respond with, “That is adorable. Here is a mystery.” The most useful DIY lessons come from planning for those mysteries before the chandelier is dangling above your head.
Experience 1: The Housing Type Matters More Than the Opening Size
A common mistake is measuring a 6-inch opening, buying a 6-inch conversion kit, and assuming compatibility has been settled. Diameter is only one requirement. The installer must also know whether the can is fastened to framing, whether its socket style matches the adapter, and whether the converter is approved for that housing type.
When a remodel can begins lifting out of the ceiling as the support bar is tightened, the project is already delivering its answer. Stop. Tightening harder does not transform drywall clips into ceiling joists.
Experience 2: Assemble Less Than You Think
Fully assembling a crystal chandelier on the floor feels efficient until you try to carry it up a ladder. The safer approach is to install the main body first and add fragile or heavy decorations afterward. Photograph the fixture while unpacking it and group identical pieces in labeled containers.
This small organizational step is especially helpful when the instruction sheet contains a tiny diagram apparently designed for readers with eagle vision and unlimited patience.
Experience 3: Test the Hanging Height Before Finalizing the Chain
Measurements are essential, but a temporary visual test can reveal problems that numbers miss. Have one person hold a cardboard circle or lightweight object at the proposed height while another views it from doorways and seated positions.
Over a dining table, check whether people can see one another comfortably and whether the bulbs create glare. In a walkway, ask the tallest household member to pass beneath the proposed position. A fixture that clears everyone by half an inch is technically exciting but practically annoying.
Experience 4: Ceiling Medallions Solve Several Problems
A recessed opening is often wider than a chandelier canopy. Even when the canopy technically covers the hole, old paint lines, chipped drywall, or discoloration may remain visible. A lightweight decorative medallion can create a clean transition and make the project look intentional rather than recently negotiated.
Paint the medallion on a workbench and allow it to dry before installation. Ceiling paint applied after the chandelier is installed has a remarkable ability to find chains, cords, hair, and clothing.
Experience 5: Take a Wiring Photo Before Disconnecting Anything
When branch-circuit conductors must be disconnected, take several clear photographs first. Include the wire connectors, grounding arrangement, cable entries, and any marked conductors. A white wire wrapped with black tape, for example, may be functioning as a switched hot rather than a neutral.
Photographs do not replace testing or electrical knowledge, but they preserve valuable information. Memory becomes surprisingly creative after three wire connectors have been removed.
Experience 6: Do Not Force the Decorative Cover
If the canopy refuses to sit flat, something is usually misaligned. The mounting screws may be too long, wires may be trapped at the edge, the bracket may be crooked, or the canopy opening may not match the supplied hardware.
Loosen the fixture, lower it carefully, and inspect the assembly. Forcing the canopy upward can damage insulation, strip threads, or create a fixture that looks secure while quietly planning a future descent.
Experience 7: The Final Bulb Choice Changes the Entire Result
A beautiful chandelier can feel harsh when fitted with excessively bright, cool-white bulbs. Start with warm-white LEDs and calculate total light output across all sockets. Six 800-lumen bulbs produce far more light than one 800-lumen recessed lamp.
Clear bulbs emphasize exposed filaments and sparkle, while frosted bulbs soften glare. A compatible dimmer provides flexibility for meals, homework, cleaning, and the moment someone decides the dining table is now a temporary home office.
The best recessed-light-to-chandelier projects succeed because the installer separates decoration from engineering. Style determines what the fixture looks like. The housing, mounting system, electrical connections, and weight ratings determine whether it belongs there safely. Inspect first, measure twice, follow the listed instructions, and treat any unexplained wiring or movement as a reason to pause rather than improvise.
Conclusion
Replacing recessed lighting with a chandelier can transform an overlooked ceiling opening into the centerpiece of a room. A lightweight screw-in pendant may take only a few minutes, while a true chandelier usually requires a structural conversion kit or a framing-supported ceiling box.
Confirm the recessed housing type, fixture weight, mounting-system rating, wiring condition, and local requirements before beginning. Turn off and verify the power, use listed components, follow the manufacturers’ instructions, and call a licensed electrician whenever the existing support or wiring is uncertain. Done correctly, the finished chandelier should attract attention because it looks wonderfulnot because it is swinging unexpectedly.